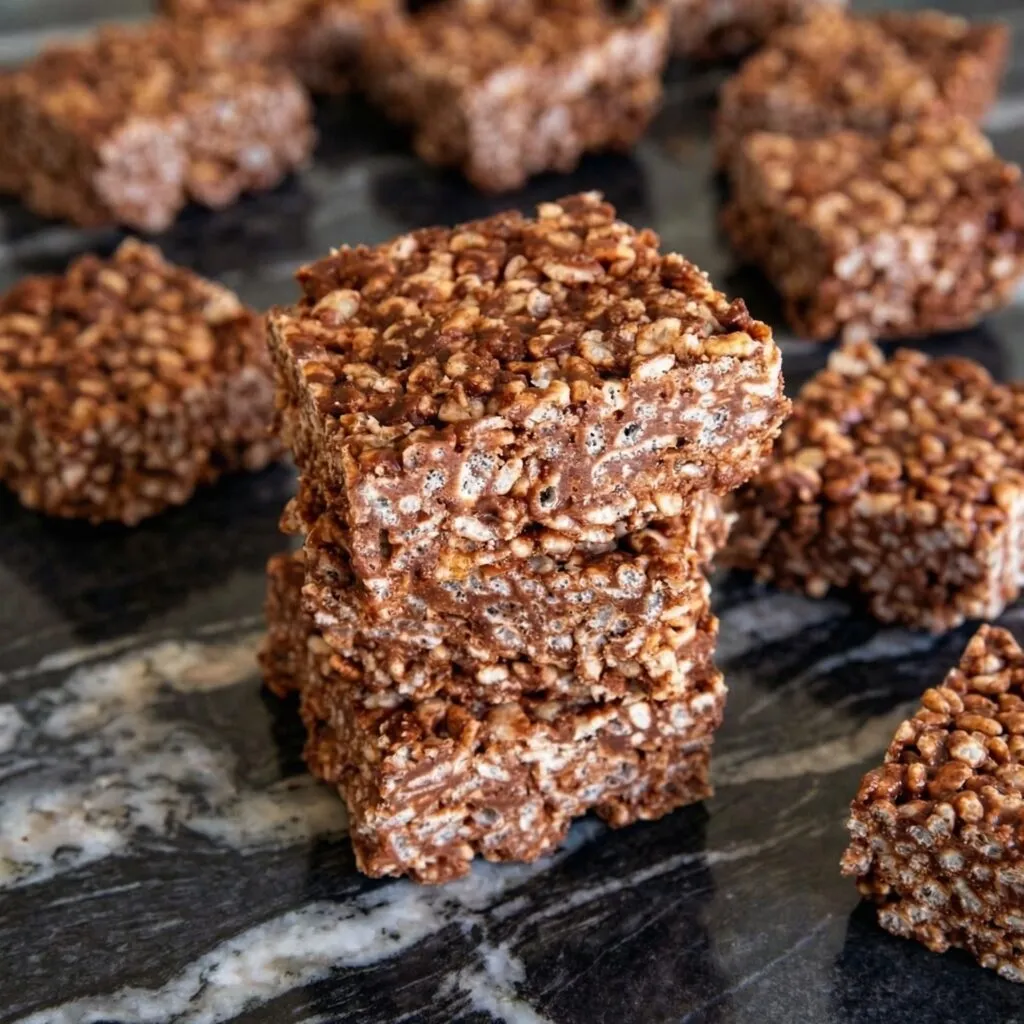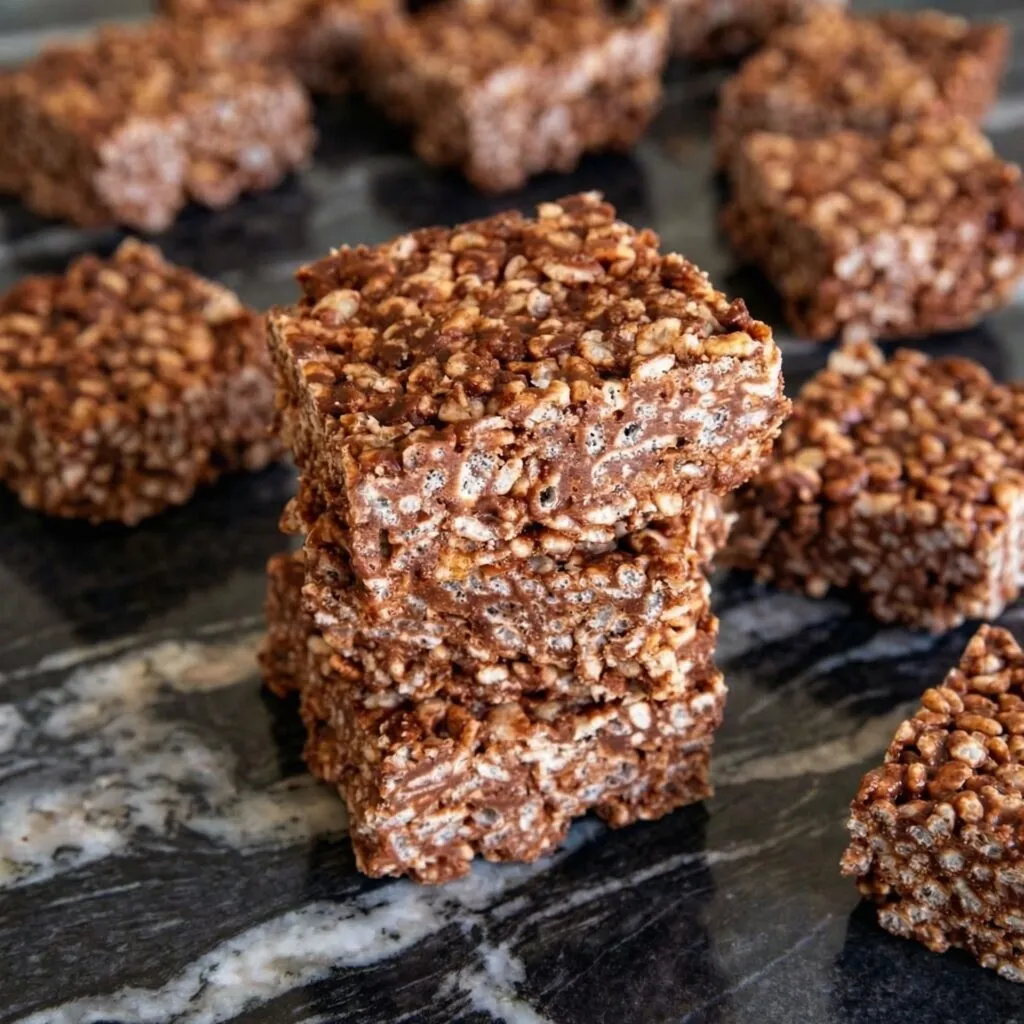
Sometimes the best recipes are the simplest ones. These Chocolate Crispy Squares are proof that you don’t need fancy ingredients or hours in the kitchen to create something absolutely irresistible. With just a handful of pantry staples, you can whip up a batch of these chewy, crunchy, chocolatey treats in less than 15 minutes.
I don’t know about you, but these take me straight back to childhood birthday parties and school bake sales. They’re nostalgic, they’re foolproof, and they’re dangerously easy to eat by the handful. Whether you’re making them with little ones (no oven required!) or need a last-minute dessert for a potluck, these crispy squares always deliver. Let’s get stirring!
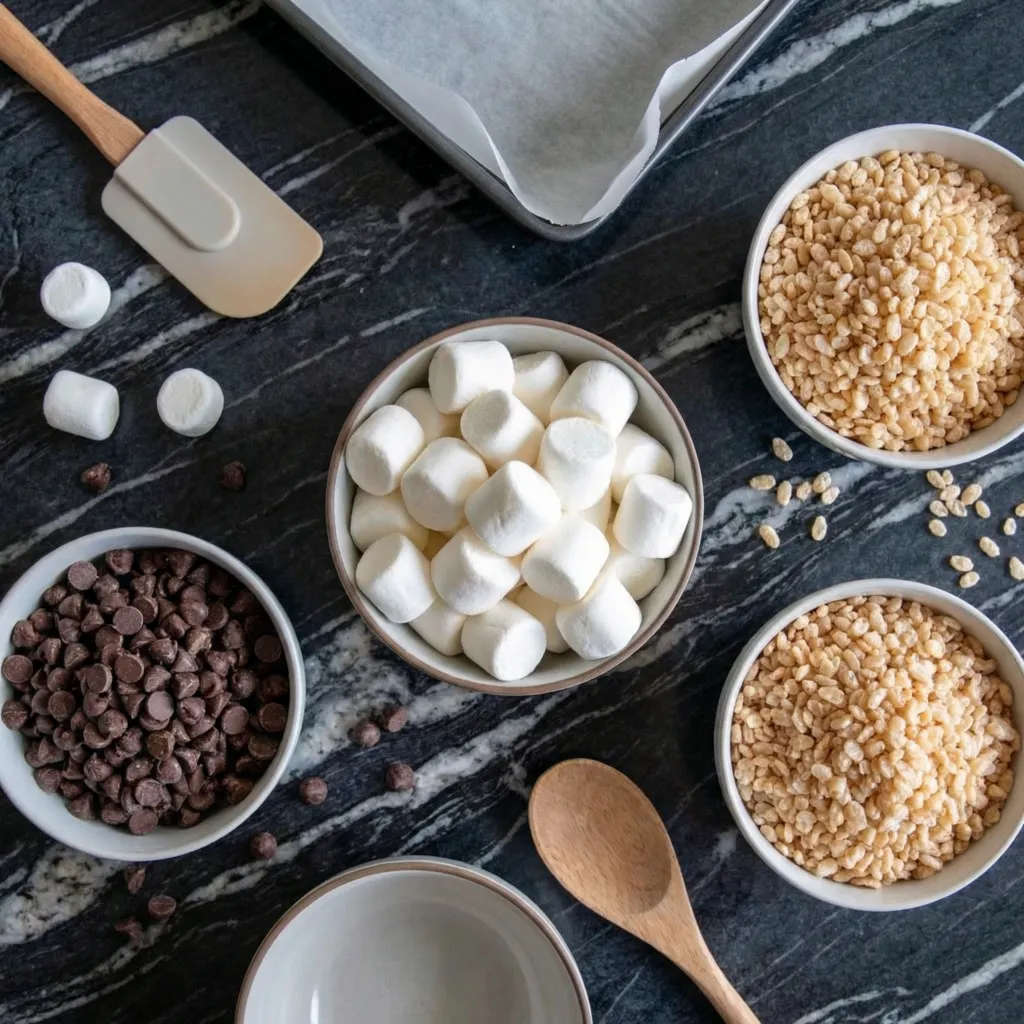
Prepare Your Pan
Line an 8×8 inch square baking pan with parchment paper, leaving an overhang on two opposite sides. This will act as handles to lift the squares out later. Lightly grease the parchment with butter or non-stick spray.
Melt the Butter and Marshmallows
In a large pot (really large—you’ll need room for the cereal!), melt the butter over low heat.
Add the mini marshmallows and stir continuously with a silicone spatula or wooden spoon until the marshmallows are completely melted and smooth.
If using cocoa powder: Sift the cocoa powder into the pot and stir vigorously until fully incorporated and no streaks remain.
Remove the pot from the heat immediately. Overheating can make the squares tough.
Add the Cereal
Pour the crispy rice cereal into the pot.
Fold gently until all the cereal is evenly coated in the marshmallow mixture. Be careful not to crush the cereal—you want those crispy clusters!
If using melted chocolate: If you’re adding melted chocolate instead of cocoa, gently fold it in now until just combined.
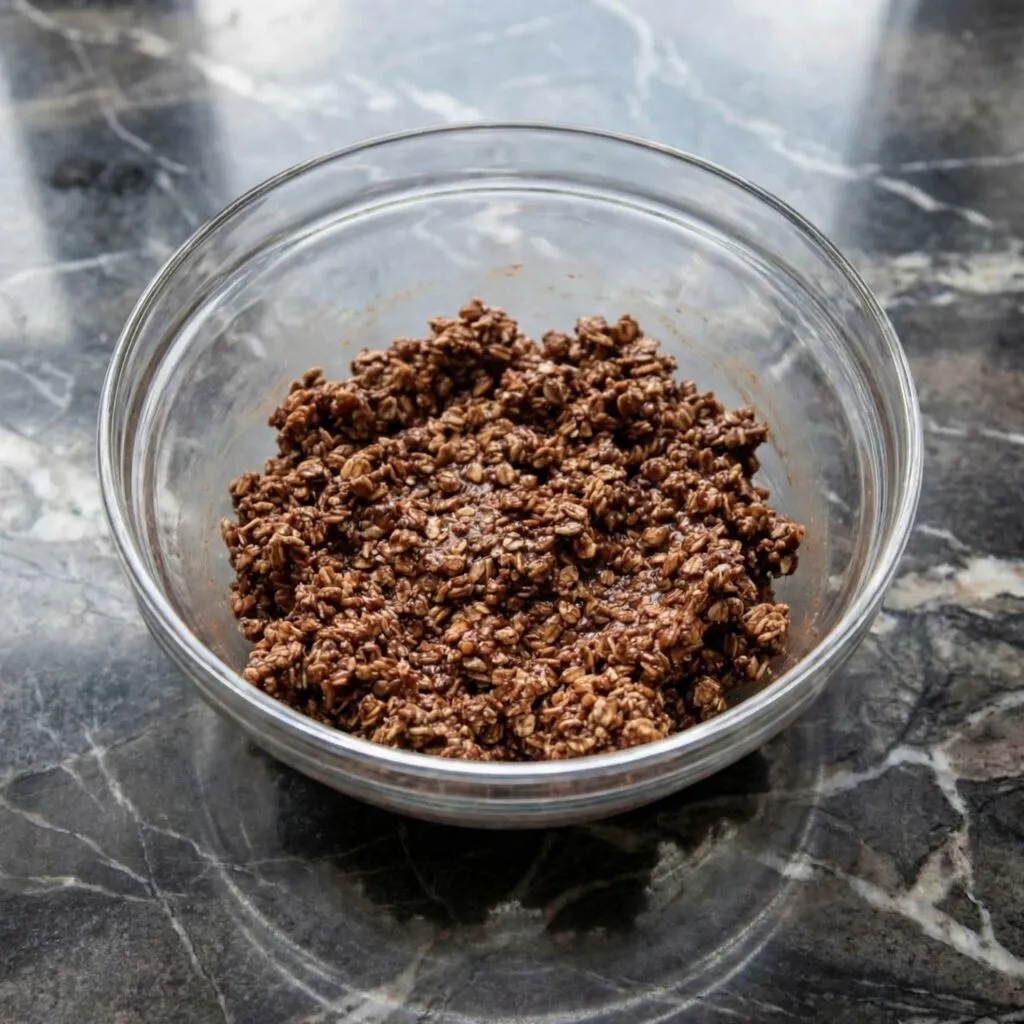
Press Into Pan
Transfer the mixture to your prepared pan.
Here’s the trick: lightly grease your hands or the back of a spatula with butter or non-stick spray. Gently press the mixture evenly into the pan. Don’t press too hard, or the squares will be rock hard—just firm enough to hold together.
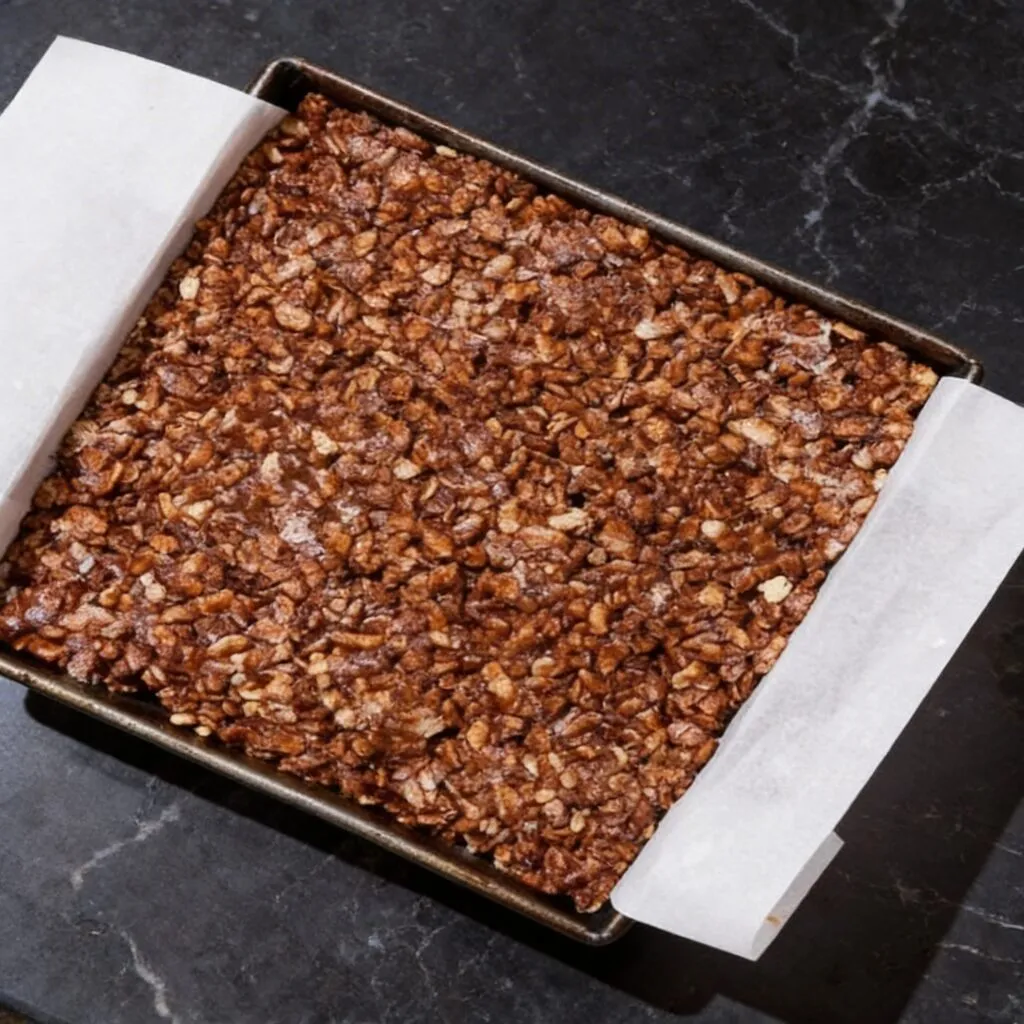
Cool and Set
Let the squares sit at room temperature for about 30-60 minutes until completely set.
If you’re in a hurry, you can pop them in the refrigerator for 15-20 minutes to speed up the process.
Slice and Serve
Use the parchment overhang to lift the whole block out of the pan.
Place on a cutting board and slice into 16 squares (or larger bars if you prefer!). A sharp knife works best—wipe it clean between cuts for neat edges.
Fun Variations to Try
Peanut Butter Chocolate: Stir ⅓ cup of creamy peanut butter into the marshmallow mixture before adding the cereal. Use chocolate cereal for double the chocolate!
Salted Caramel: Drizzle caramel sauce over the pressed squares and sprinkle with flaky sea salt before they set.
Mint Chocolate: Use chocolate-flavored crispy cereal and add ½ teaspoon peppermint extract to the marshmallow mixture. Top with crushed candy canes for the holidays.
S’mores Squares: Mix in ½ cup mini marshmallows and ½ cup crushed graham crackers after folding in the cereal. Press and top with more mini marshmallows.
Birthday Sprinkle: Use white chocolate or vanilla marshmallows and fold in ¼ cup rainbow sprinkles at the end. Top with more sprinkles!
Summary
Prep Time: 5 minutes | Cook Time: 5 minutes | Set Time: 30 minutes | Total Time: 40 minutes
Yield: 16 squares
Difficulty: Super Easy (Kid-Friendly!)
Storage and Make-Ahead Tips
How to Store: Store chocolate crispy squares in an airtight container at room temperature for up to 5 days. Place parchment paper between layers to prevent sticking.
Can You Freeze Them? Absolutely! Wrap individual squares tightly in plastic wrap, then place them in a freezer bag or container. Freeze for up to 6 weeks. Thaw at room temperature for about 15-20 minutes before enjoying.
Making Ahead for Parties: These are the perfect make-ahead treat! They actually hold their shape better after sitting overnight. Make them a day or two in advance and store in an airtight container until ready to serve.