Baking

Cheese Danish (Creamy, Flaky, Bakery-Style at Home)

Tested & Loved ★ 100% Delicious ★
Cheese Danish (Creamy, Flaky, Bakery-Style at Home)

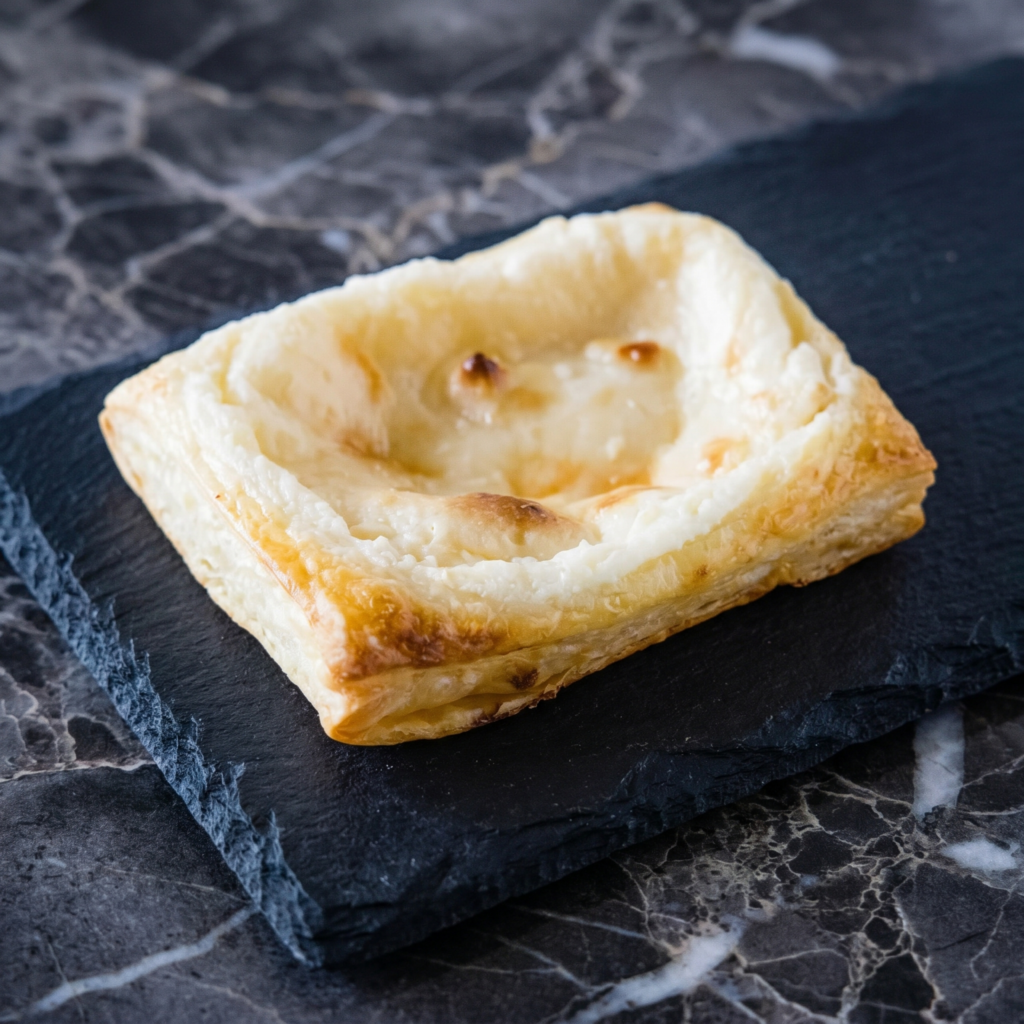
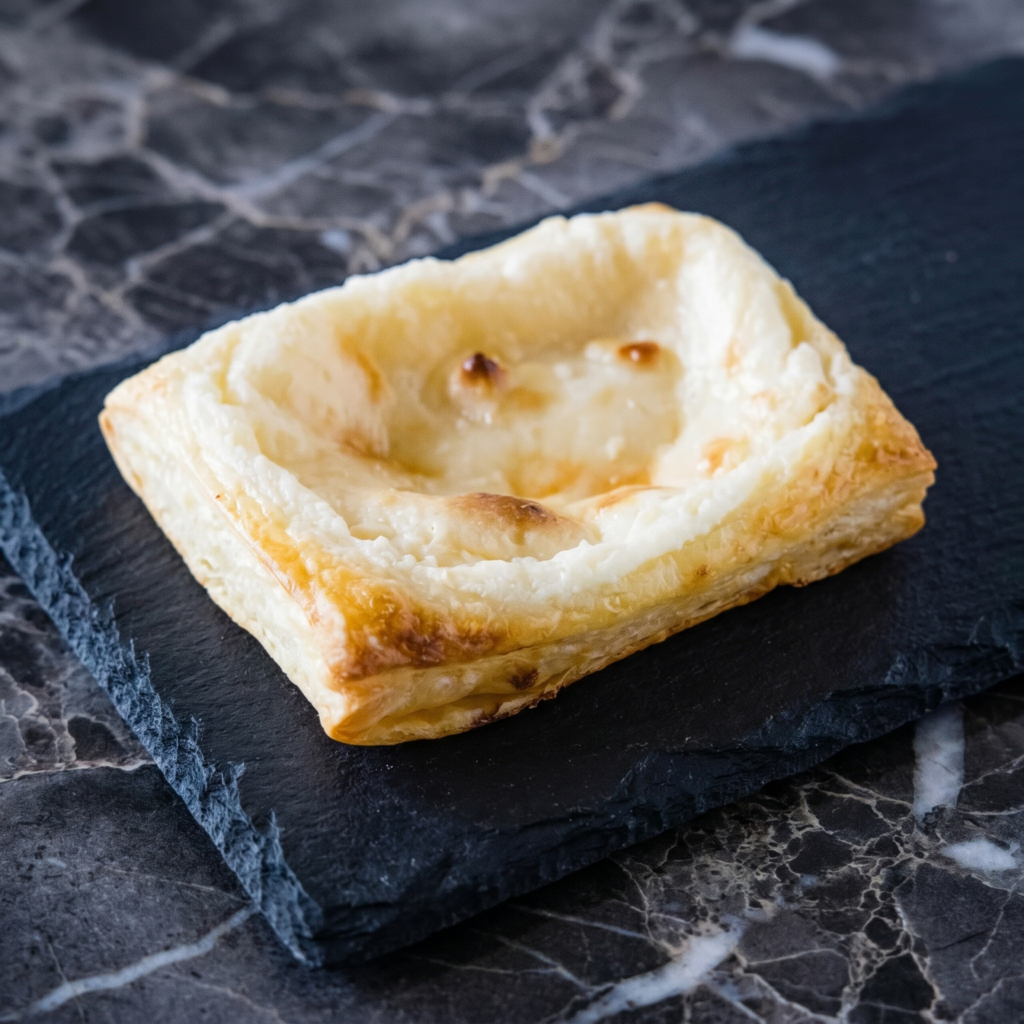
Soften the cream cheese until a spoon drags through it with no resistance, because cold cream cheese leaves you with lumps the filling never recovers from. Beat in the sugar, egg yolk, and vanilla until it's smooth and pourable, then fold the puff pastry corners toward the center so they overlap just enough to hold. The egg wash on the edges acts as glue here, not just color. Twelve minutes in a hot oven and you have something that tastes like the bakery case, with about ten minutes of actual work.

By Nora Calloway

A little backstory

The Danish pastry isn't really Danish in origin. The story goes that Danish bakers went on strike in the 1800s, so the shops brought in Austrian bakers who carried the laminated, folded-dough technique with them, and the locals kept making it after the strike ended. In Denmark the pastry is still called wienerbrød, meaning "Viennese bread," which is a nice quiet acknowledgment of where it came from.

Cheese danish is the perfect breakfast pastry. Buttery, flaky puff pastry. Sweet, tangy cream cheese filling. Vanilla glaze on top. 20 minutes. Better than any bakery. Make two. They disappear fast.
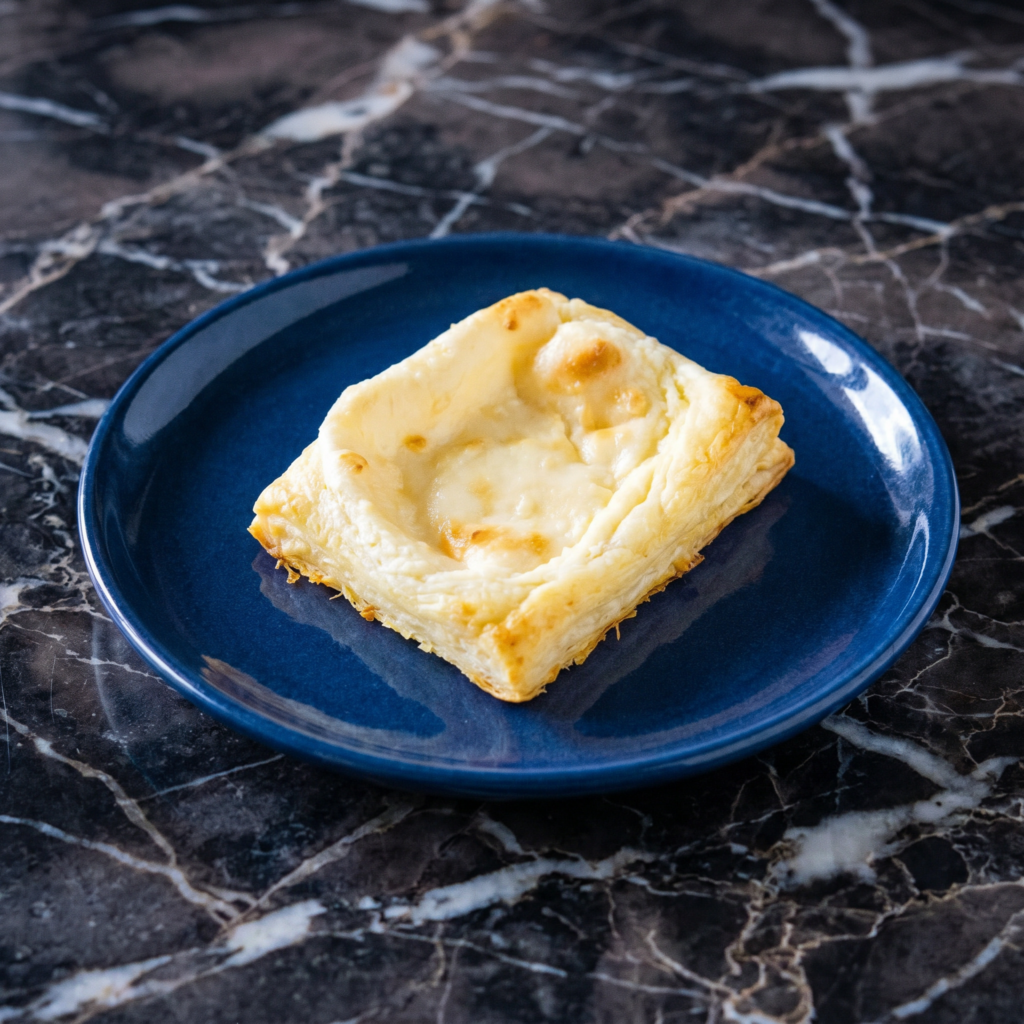
Makes 8 danishes.

Step-by-Step Instructions

1

Preheat & Prep

Preheat oven to 400°F (200°C). Line a baking sheet with parchment.

Roll puff pastry slightly into a 10×12 inch rectangle. Cut into 8 squares (about 5 inches each).

2

Make Filling

Beat cream cheese, sugar, egg yolk, vanilla, and lemon zest until smooth.

3

Assemble

Place 1-2 tablespoons of filling in the center of each square. Brush edges with egg wash.

Fold each corner toward the center, overlapping slightly. Press gently.

Brush tops with egg wash.

4

Bake

Bake 12-15 minutes until puffed and golden brown.

5

Glaze & Serve

Whisk powdered sugar, milk, and vanilla. Drizzle over warm danishes.

Serve immediately. Or save one for yourself before they vanish.

Summary

Prep Time: 10 min | Bake Time: 15 min | Total: 25 min

Yield: 8 danishes | Difficulty: Easy

Storage Notes

Best fresh. Fridge 2 days (filling needs refrigeration). Reheat in oven or air fryer at 350°F for 5-7 minutes. Never microwave — pastry gets sad. Freeze unbaked danishes for 3 months. Bake from frozen (add 5-7 minutes).

Swaps & Substitutions

Questions & Answers

Why did my danishes pop open in the oven?

Usually too much filling or corners that weren't pressed firmly with egg wash. Stick to 1 to 2 tablespoons per square, brush the edges before folding, and press the overlap down so it has something to grip.

Can I make these ahead?

Yes. Assemble them, then refrigerate up to a day or freeze on the tray before baking. Bake straight from cold, adding a minute or two; cold pastry actually holds its shape better going into the heat.

Why is my filling lumpy?

The cream cheese went in too cold. Let it sit at room temperature until soft before beating, and the sugar and yolk will blend in smooth instead of dragging lumps around.

How do I store leftovers?

Keep them in the fridge since the filling is dairy, up to three days. Re-crisp in a 300F oven for a few minutes; the microwave makes the pastry soft and chewy.

When do I add the glaze?

Drizzle it while the danishes are still warm but not hot. Too hot and the glaze runs off and disappears; fully cooled and it sits in a thick stripe rather than soaking in slightly.

More from the Recipe Box

Craving more delicious recipes?

Subscribe to our newsletter and get our favorite weekend recipes delivered to your inbox every Friday morning.