Baking

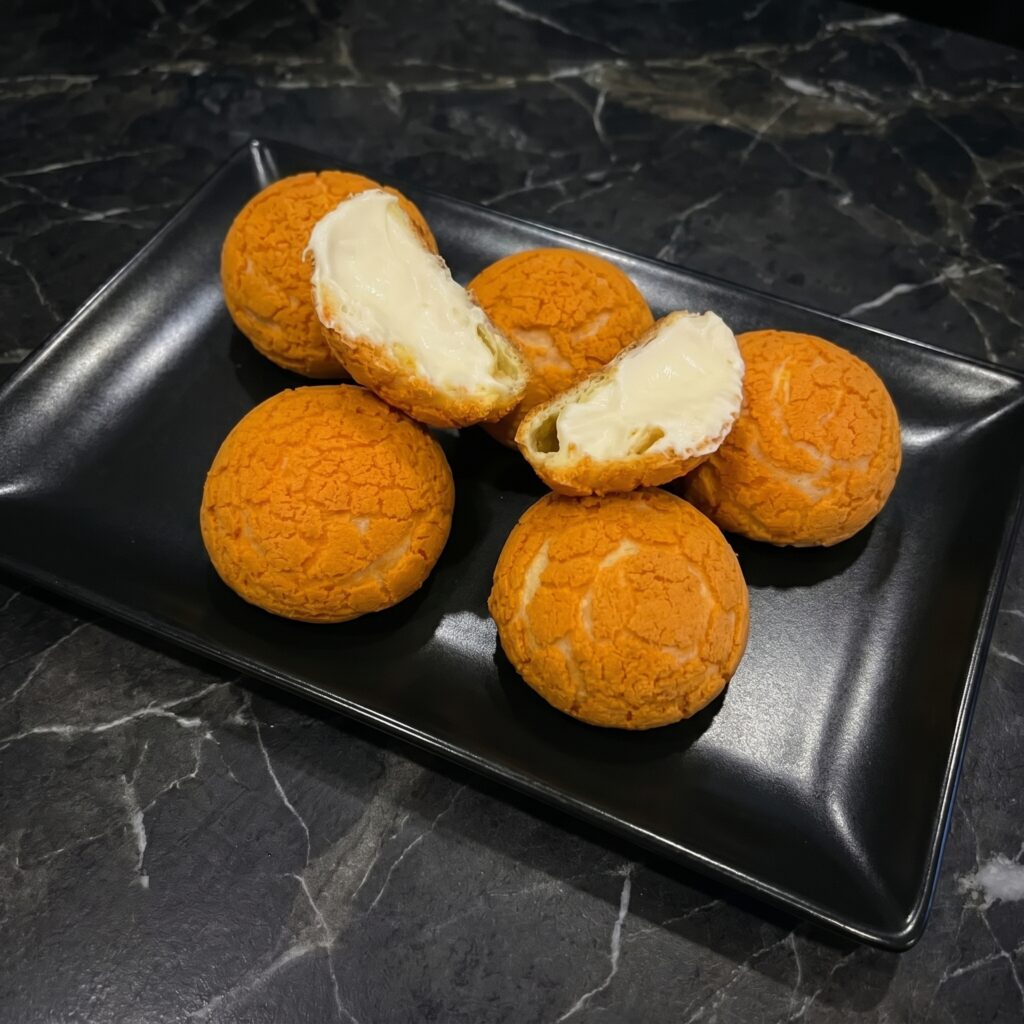
Cream Puffs: Pâte à Choux. Pastry Cream. Pure Magic.

Tested & Loved ★ 100% Delicious ★
Cream Puffs: Pâte à Choux. Pastry Cream. Pure Magic.

Dump the whole cup of flour into the boiling water-and-milk at once, then stir hard for a couple of minutes until the dough pulls into a ball and leaves a film on the pan bottom. That cooking-out step dries the dough so it can swallow four eggs later without going soupy. Let it cool five minutes before the eggs go in, otherwise you scramble them. The puff happens because all that water turns to steam in a hot oven and blows the shells open from the inside.

By Nora Calloway

A little backstory

Pâte à choux is old French kitchen work, and the story goes that an early version came from a 16th-century Italian pastry chef who followed Catherine de' Medici to France, with the dough later refined in Parisian shops. The name "choux" means cabbage, after the little rumpled cabbage-head shape the baked mounds take. Treat the Medici detail as the kind of tidy origin tale that gets repeated more than it gets proven.

Cream puffs look like they came from a French bakery. They came from your kitchen.

Light, airy choux pastry. Silky vanilla pastry cream. Dusted with powdered sugar. 1 hour. Easier than they look. Fancier than they should be.

Step-by-Step Instructions

1

Make the Pastry Cream

Heat milk in saucepan until steaming. In a bowl, whisk sugar, egg yolks, and cornstarch.

Slowly whisk hot milk into egg mixture. Return to pot. Cook until thick.

Remove from heat. Stir in butter and vanilla. Cover with plastic wrap (touch surface). Chill.

2

Make the Choux Pastry

Preheat oven to 400°F (200°C). Line baking sheet with parchment.

In a saucepan, combine water, milk, butter, sugar, and salt. Bring to a boil.

Add flour all at once. Stir vigorously until dough forms a ball (about 2 minutes).

Remove from heat. Cool 5 minutes. Add eggs one at a time, beating well after each.

3

Pipe and Bake

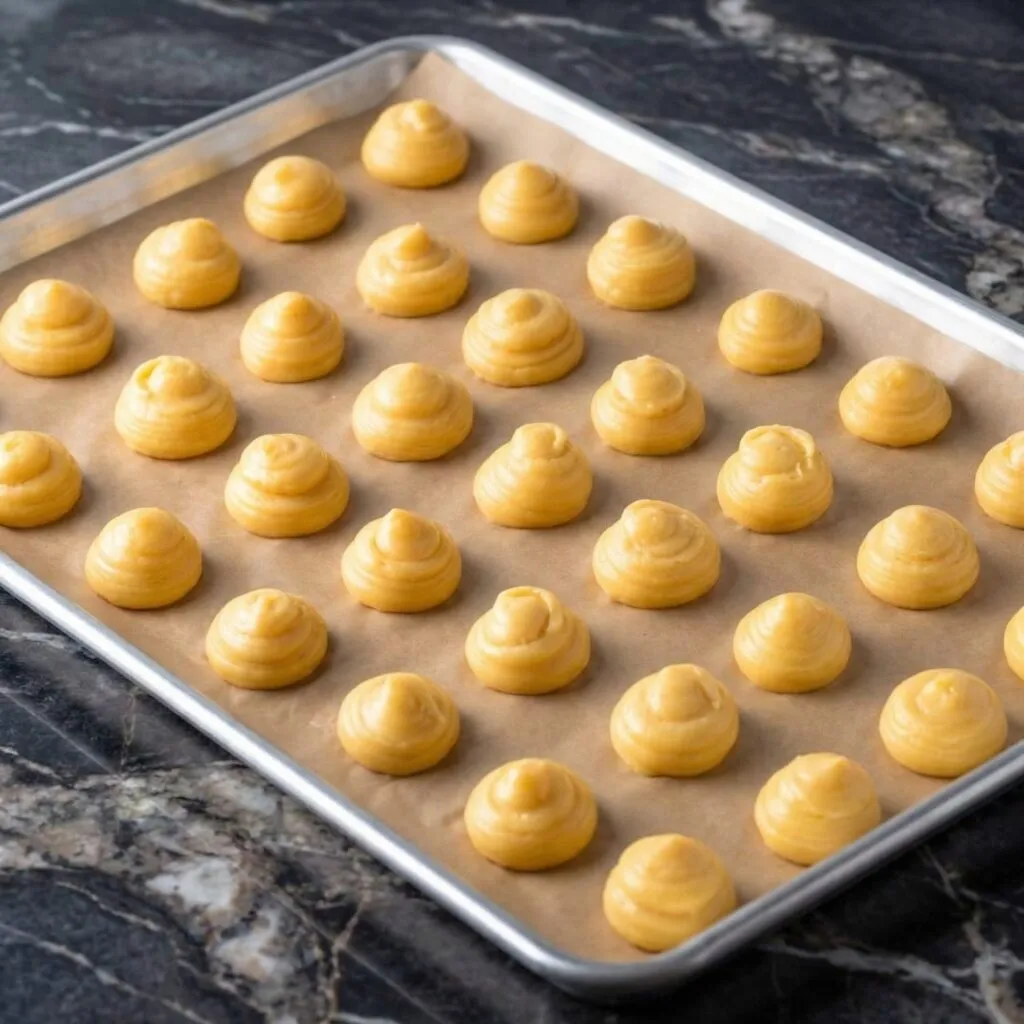
Transfer dough to a piping bag. Pipe 1.5-inch mounds onto baking sheet.

Bake 20-25 minutes until puffed and golden. Do not open oven! Cool completely.
4

Fill the Cream Puffs

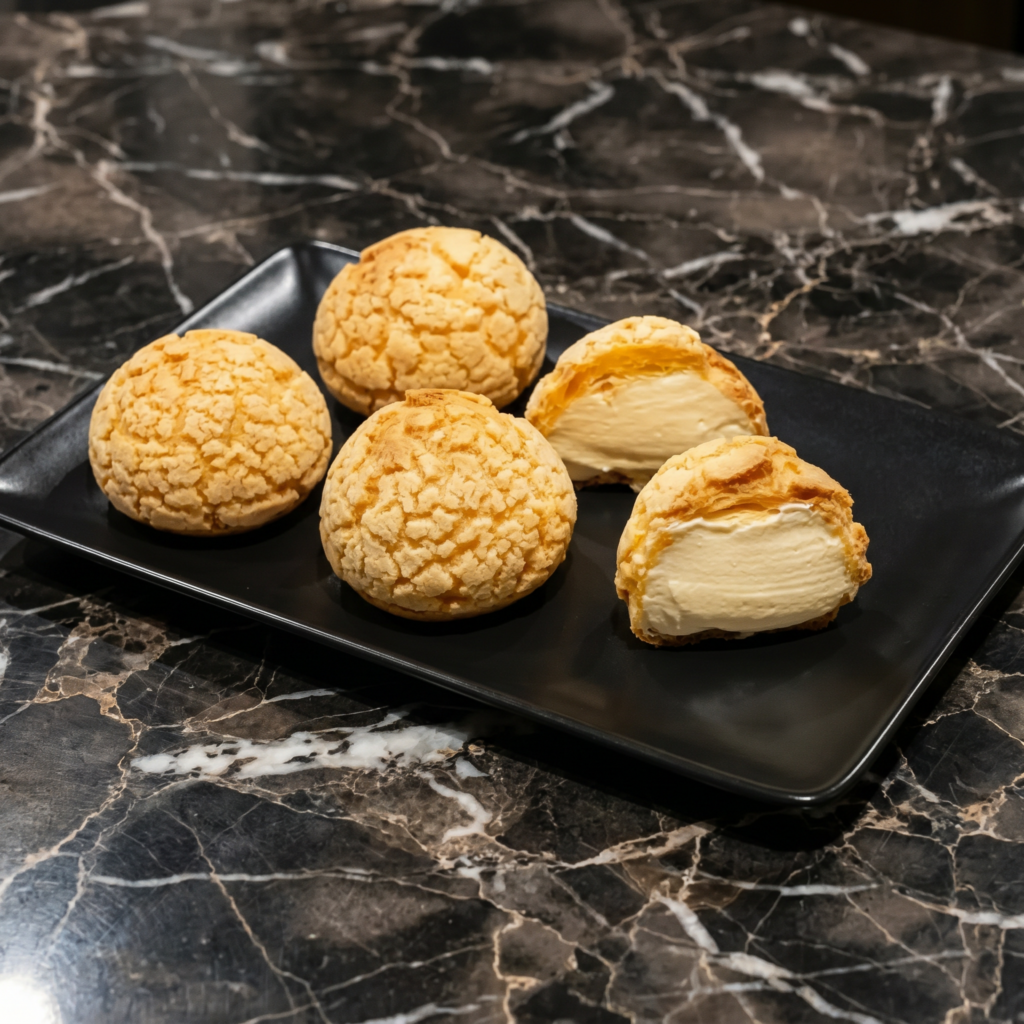
Cut each puff in half. Pipe or spoon pastry cream into bottom half.

Replace tops. Dust with powdered sugar.

5

Serve

Serve immediately or refrigerate up to 4 hours before serving.

Summary

Prep Time: 30 minutes | Cook Time: 20-25 minutes | Total Time: ~1 hour

Yield: 12-15 cream puffs

Difficulty: Medium (worth it)

Storage Notes

Best Fresh:

Fill just before serving. Unfilled puffs keep 2 days in airtight container.

Freezer Friendly:

Freeze unfilled puffs for 2 months. Reheat at 350°F for 5 minutes before filling.

Pro Tip:

  • Do NOT open the oven while baking. Cold air = deflated puffs.
Swaps & Substitutions

Questions & Answers

Why did my cream puffs collapse after baking?

Usually the inside was still wet, or the oven door got opened mid-bake and the steam escaped. Bake the full 20 to 25 minutes until deep golden, and if you want insurance, poke a small hole in each one and give them a few extra minutes to dry out.

Can I make the parts ahead?

Yes. The pastry cream keeps three to four days in the fridge with plastic wrap pressed onto its surface, and the empty baked shells hold a day at room temperature. Fill them only an hour or two before serving or the shells go soft.

How do I know the choux dough is ready for the eggs?

After you add the flour and stir, the dough should clump into a ball and leave a thin film on the bottom of the pan, about two minutes. Then cool it five minutes so it's warm, not hot, before beating in the eggs one at a time.

My pastry cream came out lumpy. What happened?

The yolks set too fast, either from pouring the hot milk in too quickly or not whisking once it hit the heat. Add the hot milk in a slow stream while whisking, then stir constantly as it thickens. If lumps still form, push the finished cream through a fine sieve.

Do I have to pipe them, or can I spoon the dough?

A piping bag gives even, round mounds that bake uniformly, but two spoons work fine. Wet the spoons or your finger and smooth any peaks so the tips don't scorch before the centers cook.

More from the Recipe Box

Craving more delicious recipes?

Subscribe to our newsletter and get our favorite weekend recipes delivered to your inbox every Friday morning.