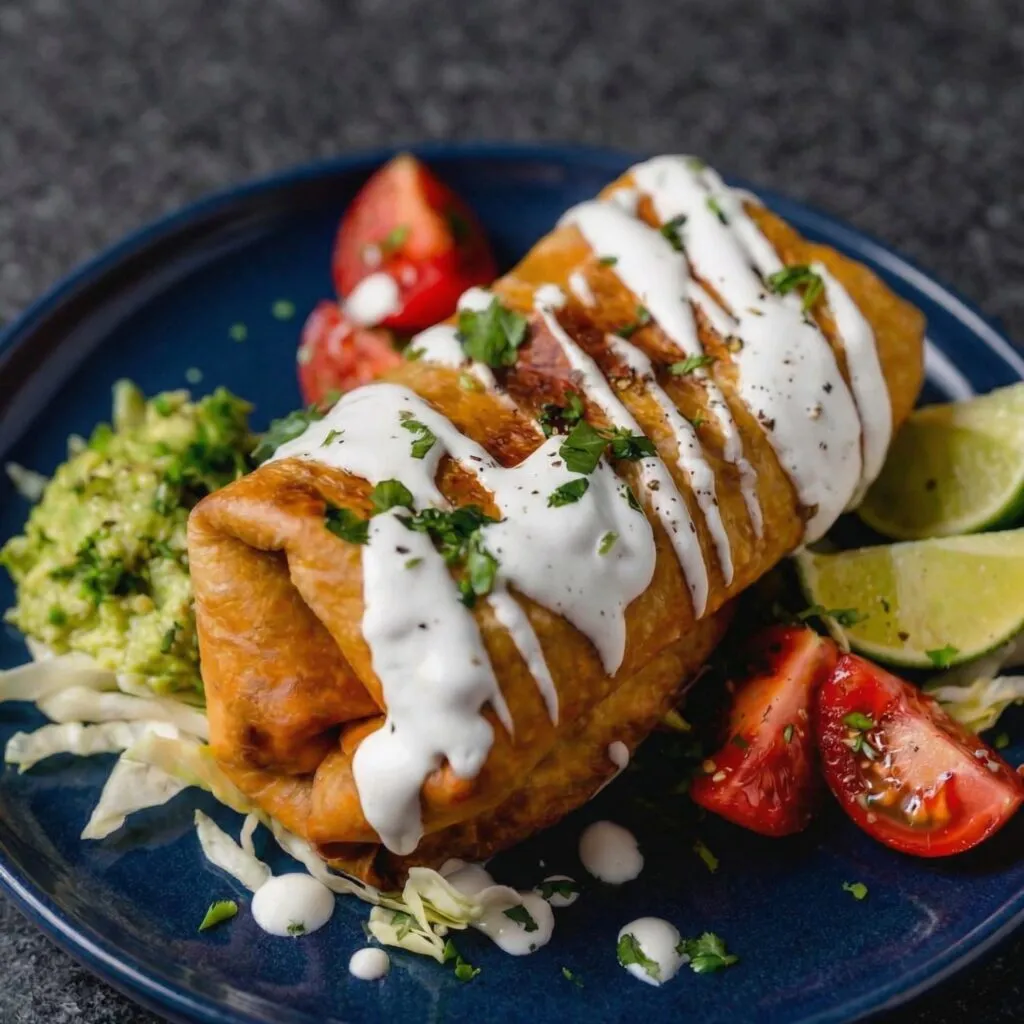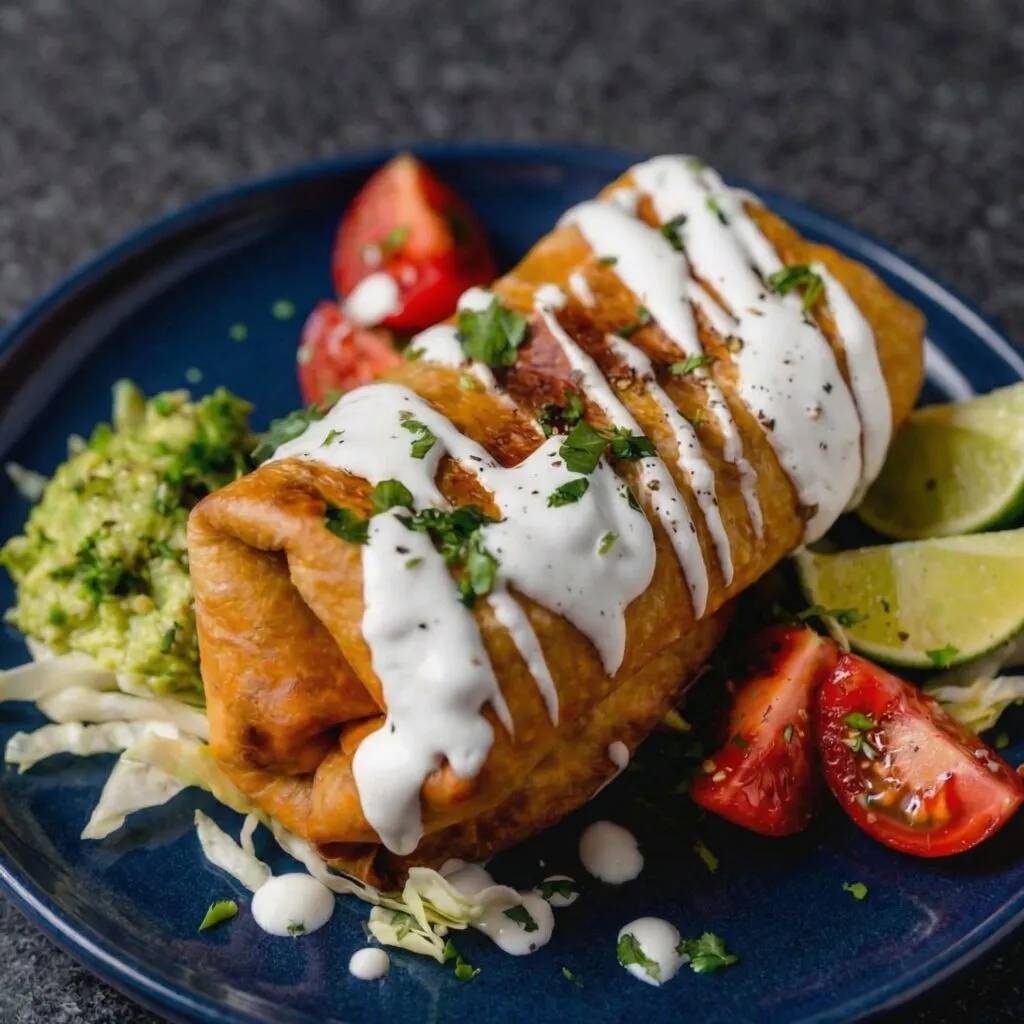
If you love burritos but crave something crispy, indulgent, and packed with bold flavor, Chicken Chimichangas are about to become your new obsession.
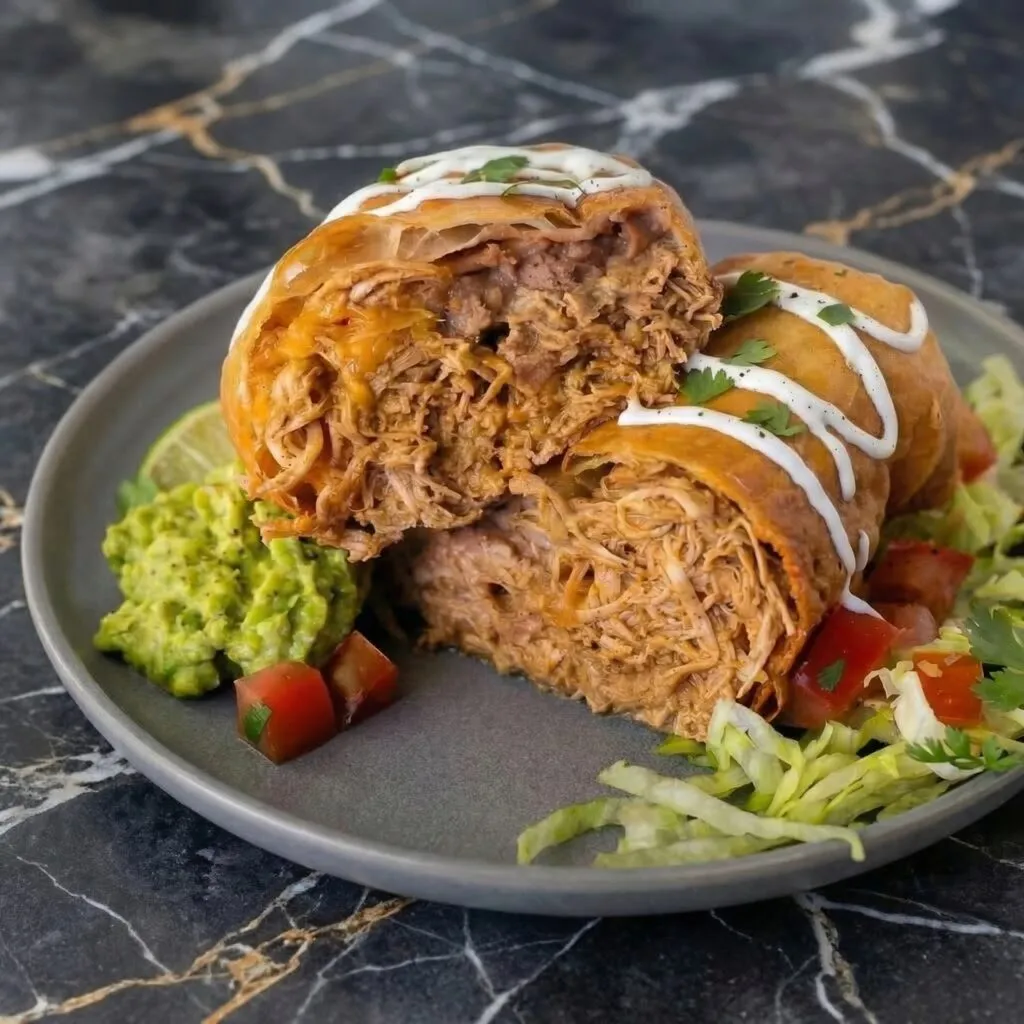
These deep-fried (or baked!) burritos are stuffed with seasoned shredded chicken, melty cheese, and savory fillings, then cooked until perfectly golden and crunchy on the outside.
Every bite delivers a satisfying crunch followed by warm, flavorful filling that’s pure comfort food.
The best part?
They’re surprisingly easy to make at home. Follow this step-by-step guide and you’ll have restaurant-style chimichangas fresh from your own kitchen.
Ingredients You’ll Need
Prepare the Chicken Filling
Heat olive oil in a skillet over medium heat. Add the diced onion and cook for 3–4 minutes until softened. Stir in the minced garlic and cook for another 30 seconds until fragrant.
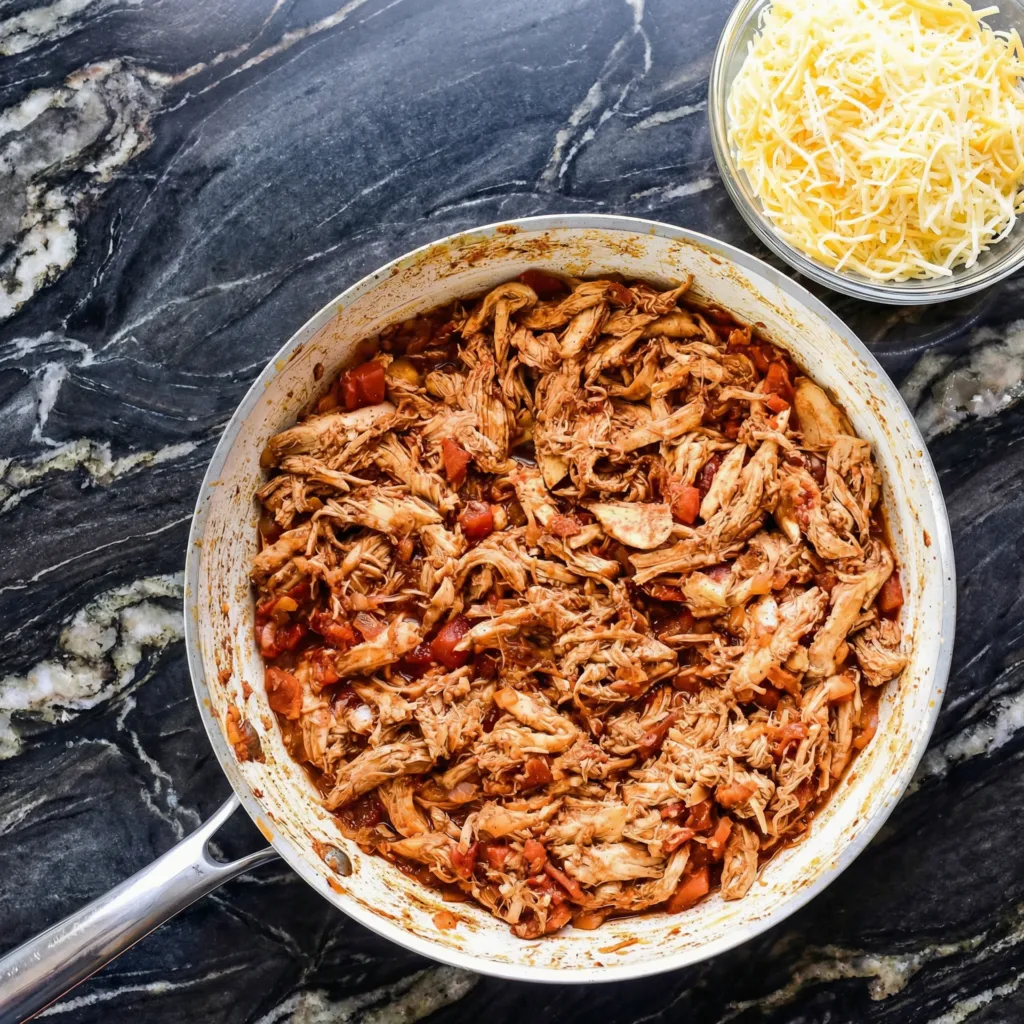
Add the shredded chicken to the skillet. Sprinkle in the chili powder, cumin, smoked paprika, salt, and black pepper. Stir well to coat the chicken evenly with the spices.
Pour in the salsa and cook for 2–3 minutes, allowing everything to heat through and the flavors to blend. Remove from heat and stir in the shredded cheese while the mixture is still warm. The cheese should begin to melt slightly, creating a creamy filling.
Warm the Tortillas
Warm the flour tortillas in the microwave for about 20–30 seconds. This makes them more pliable and less likely to tear when folding.
Lay them flat on a clean surface, ready for assembly.
Assemble the Chimichangas
Spoon about ½ to ¾ cup of the chicken mixture into the center of each tortilla. Be careful not to overfill, as this can make rolling difficult.
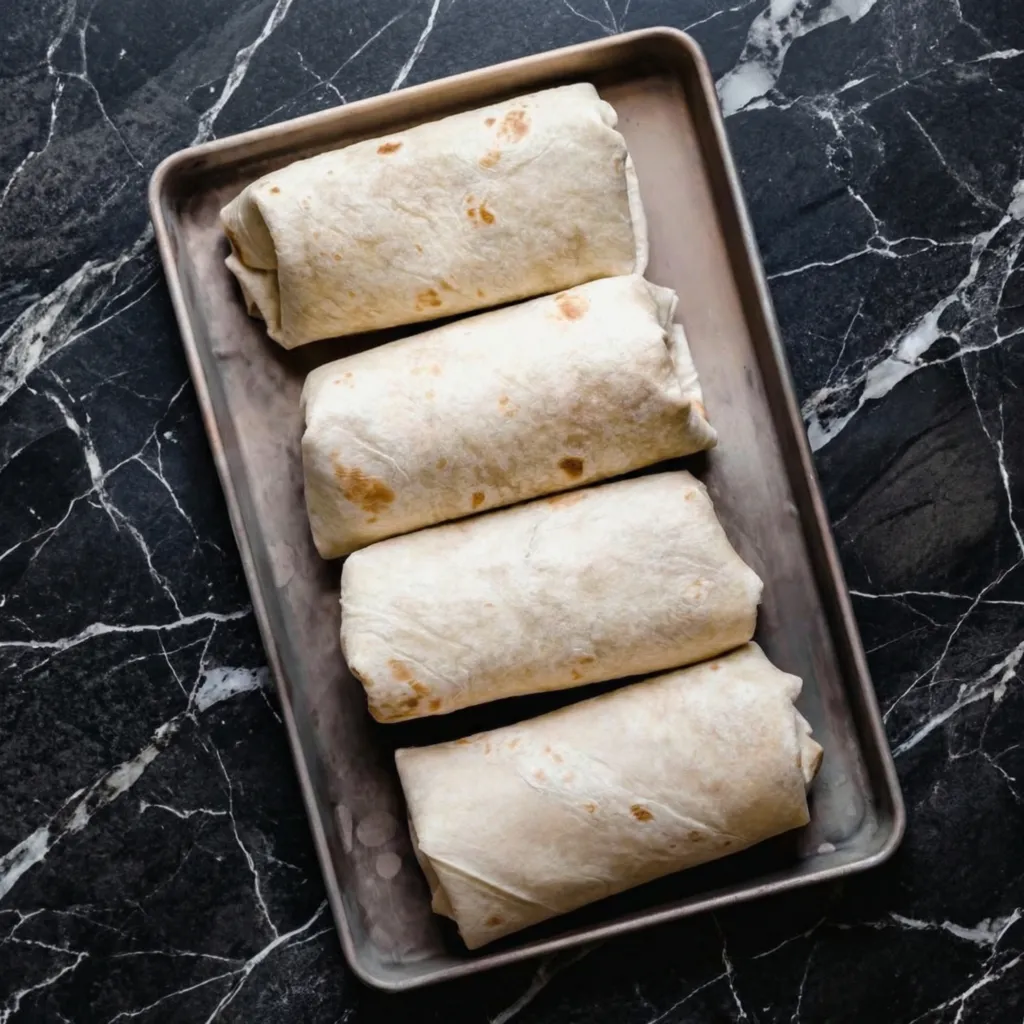
Fold the sides inward first, then roll the tortilla tightly from the bottom up, burrito-style. The filling should be fully enclosed.
Place each rolled chimichanga seam-side down on a plate while you finish assembling the rest.
Heat the Oil
Pour about 1–2 inches of vegetable oil into a deep skillet or heavy-bottomed pot.
Heat over medium heat until the oil reaches about 350°F (175°C). If you don’t have a thermometer, drop in a small piece of tortilla—if it sizzles immediately, the oil is ready.
Fry Until Golden
Carefully place one or two chimichangas seam-side down into the hot oil. Do not overcrowd the pan.
Fry for 2–3 minutes per side, turning carefully with tongs, until golden brown and crispy all over.
Remove and place on a plate lined with paper towels to drain excess oil. Repeat with remaining chimichangas.
Alternative Baking Method
If you prefer a lighter option, brush each chimichanga lightly with oil and place seam-side down on a baking sheet.
Bake at 400°F (200°C) for 20–25 minutes, flipping halfway through, until crispy and golden.
While not as deeply crispy as fried, the baked version is still delicious and satisfying.
Add Toppings and Serve
Place the hot chimichangas on serving plates. Top with sour cream, guacamole, shredded lettuce, diced tomatoes, or extra salsa.
For an extra indulgent touch, drizzle with warm queso or enchilada sauce before serving.
Serve immediately while crispy and hot.
Pro Tips for Perfect Chimichangas
- Don’t overfill the tortillas to prevent bursting during frying.
- Secure tightly when rolling to keep everything sealed.
- Maintain oil temperature for even browning and crispiness.
- Drain properly on paper towels to avoid sogginess.
- Use rotisserie chicken for quick prep and extra flavor.
Flavor Variations
Once you master the classic chicken version, try these creative ideas:
- Spicy Jalapeño Chicken: Add diced jalapeños to the filling.
- Creamy Version: Stir in a few tablespoons of cream cheese for extra richness.
- Bean & Rice Add-In: Add seasoned rice or refried beans for a heartier filling.
- Buffalo Chicken Twist: Mix shredded chicken with buffalo sauce and mozzarella.
Make-Ahead and Storage
Chimichangas can be assembled ahead of time and stored in the refrigerator for up to 24 hours before cooking.
Cooked chimichangas can be stored in an airtight container for up to 3 days. Reheat in the oven at 375°F until warmed through and crispy again.
They also freeze well—wrap tightly in foil and up to 2 months.
Why This Recipe Works
Chicken chimichangas combine contrasting textures and bold flavors.
The seasoned chicken filling is savory and slightly saucy, while the melted cheese binds everything together. Frying creates that irresistible crispy shell that makes chimichangas stand apart from regular burritos.
They’re customizable, crowd-pleasing, and perfect for weeknight dinners or festive gatherings.
Final Thoughts
Chicken Chimichangas are comfort food at its finest—crispy on the outside, cheesy and flavorful on the inside.
With just a handful of ingredients and simple techniques, you can recreate this restaurant favorite in your own kitchen.
Whether you fry them for maximum crunch or bake them for a lighter option, these chimichangas deliver big flavor and satisfying texture every time.
Serve them with your favorite toppings, gather around the table, and enjoy every golden, crunchy bite.