Quick Meals

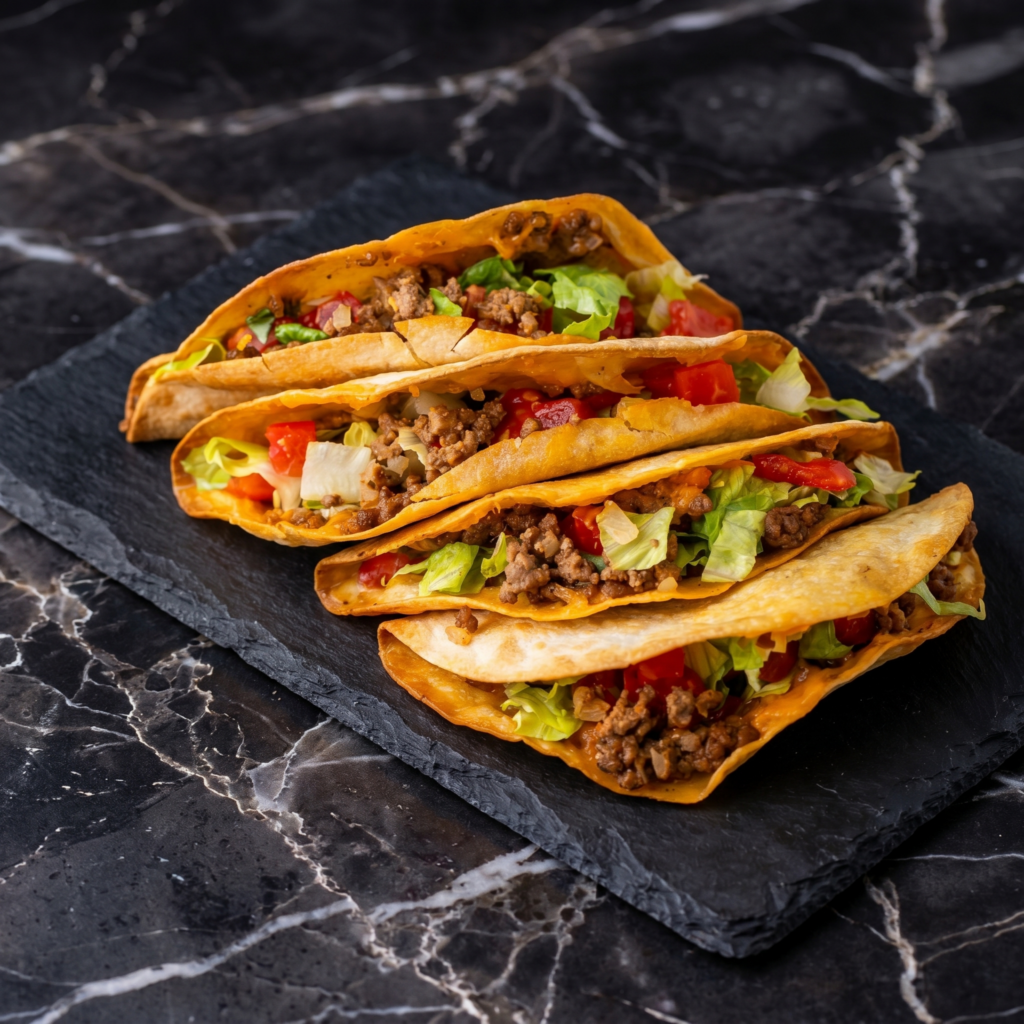
Crispy Ground Beef Tacos (Shell vs. Meat? Shell Wins)

Tested & Loved ★ 100% Delicious ★
Crispy Ground Beef Tacos (Shell vs. Meat? Shell Wins)

Brown the beef and onion together in a hot, dry skillet and let the fat render before you reach for the seasoning. That rendered fat is what carries the spices, so drain it after browning, not before. I keep the heat at medium-high so the meat sears instead of stewing in its own water, then I add the seasoning and a splash of water to pull everything together. The shells go in a 350F oven for a few minutes right before assembly, because warm shells crackle and room-temp ones bend.

By Nora Calloway

A little backstory

The hard shell taco as Americans know it is largely a mid-century invention, and the favorite story credits Glen Bell, who built Taco Bell around pre-fried U-shaped shells in the 1950s so they could be filled fast and held in a rack. Older fried-tortilla tacos existed in Mexican home cooking well before that, so Bell standardized and scaled an idea rather than inventing it outright.

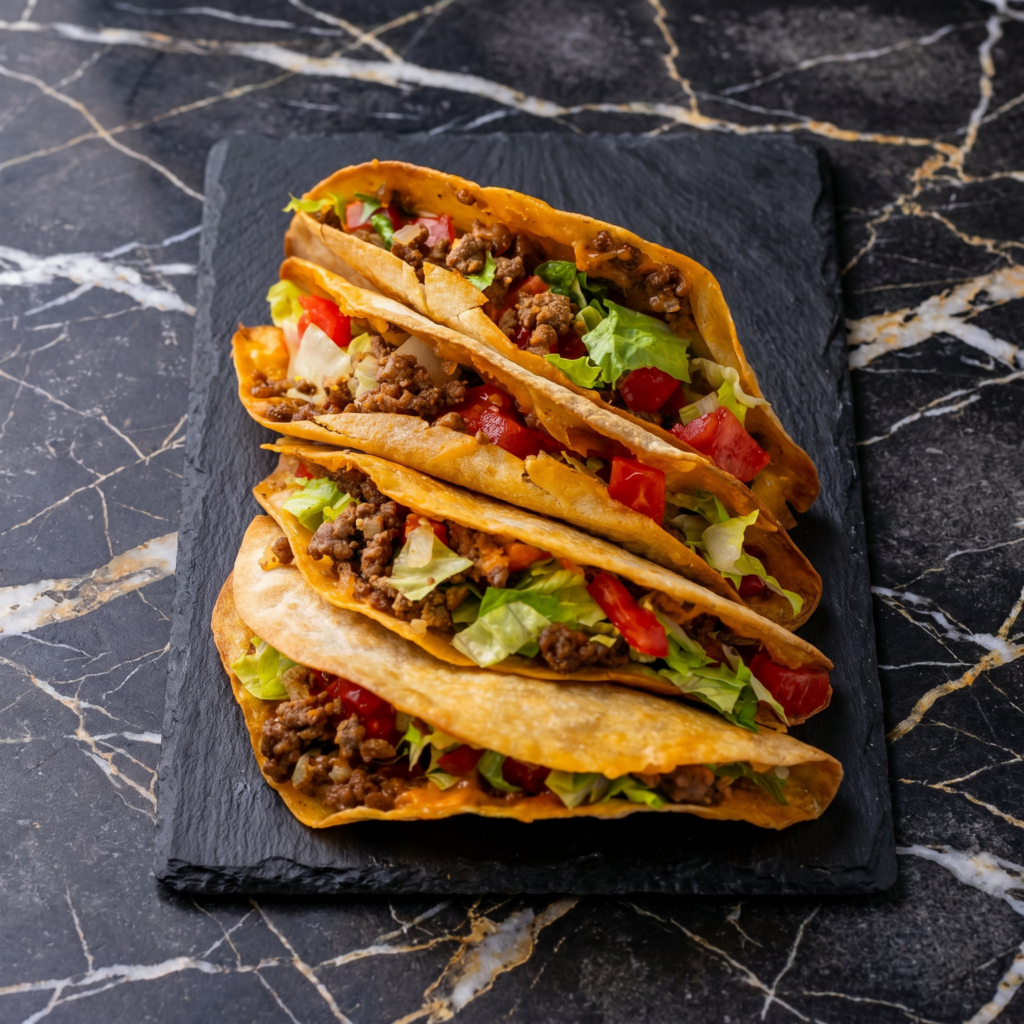
Hard shell tacos get a bad rap. Not these. Golden, crunchy shells. Seasoned ground beef. Melty cheese. Fresh lettuce and salsa. One bite. That crunch. Taco Tuesday forever.

Step-by-Step Instructions

1

Cook Beef

Heat a large skillet over medium-high heat. Add ground beef and onion. Cook 5-7 minutes, breaking it up, until beef is browned and cooked through.

Drain excess fat. Add garlic and cook 1 minute.

2

Season

Add taco seasoning and water. Stir and simmer 3-4 minutes until most liquid is absorbed. Remove from heat.

3

Warm Shells

Preheat oven to 350°F (175°C). Arrange taco shells on a baking sheet. Warm 3-4 minutes until crispy.

4

Assemble

Fill each shell with seasoned beef. Top with shredded cheese (the heat will melt it slightly).

Add lettuce, tomatoes, sour cream, salsa, and hot sauce.

5

Serve

Serve immediately. Eat with your hands. Accept the crunch.

Summary

Prep Time: 10 min | Cook Time: 15 min | Total: 25 min

Yield: 8-10 tacos | Difficulty: Easy

Storage Notes

Don’t assemble ahead. Soggy shells = sadness. Store seasoned beef in fridge for 4 days. Reheat beef in skillet or microwave. Assemble tacos fresh right before eating for maximum crunch. Shells can be stored in pantry.
Swaps & Substitutions

Questions & Answers

Why does my beef come out greasy?

You probably skipped the drain step. After the beef browns, tip the pan and spoon off the excess fat before adding garlic and seasoning, otherwise the liquid pools in the shell.

Can I make this ahead?

Make the beef ahead, not the assembled tacos. The seasoned meat keeps in the fridge for about 4 days; reheat it and fill fresh shells right before eating. Assembled tacos go soggy fast.

How do I keep the shells from going soft?

Warm them in a 350F oven for 3 to 4 minutes just before serving and fill them at the last minute. Heat re-crisps the shell; sitting under wet toppings undoes it.

How much water should I add with the seasoning?

About half a cup, then simmer 3 to 4 minutes until most of it is absorbed. You want the beef glossy and clingy, not swimming, so the shells stay crisp.

Why did the shells crack apart when I filled them?

Either they cooled down or you overfilled them. Keep them warm until the moment you assemble, and add cheese against the warm beef first so it tacks the bottom together before the wet toppings go on.

More from the Recipe Box

Craving more delicious recipes?

Subscribe to our newsletter and get our favorite weekend recipes delivered to your inbox every Friday morning.