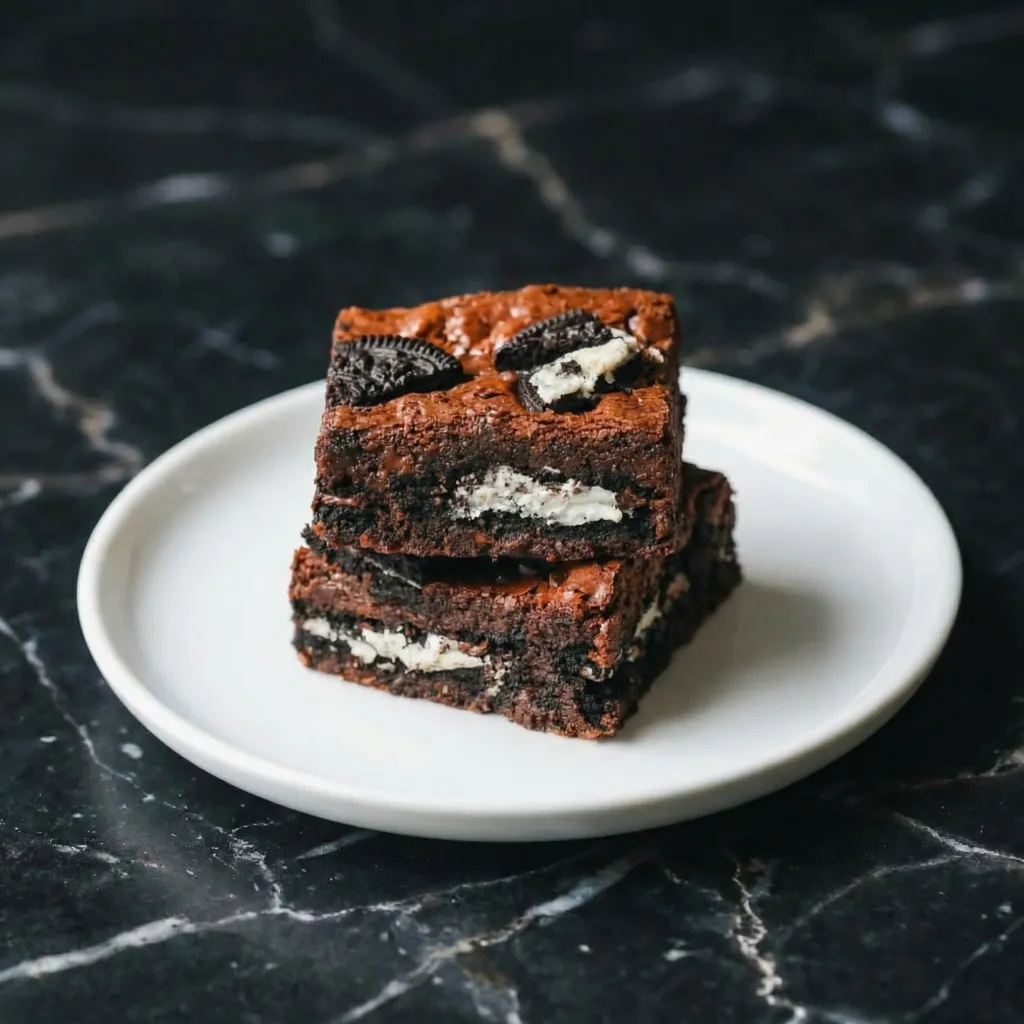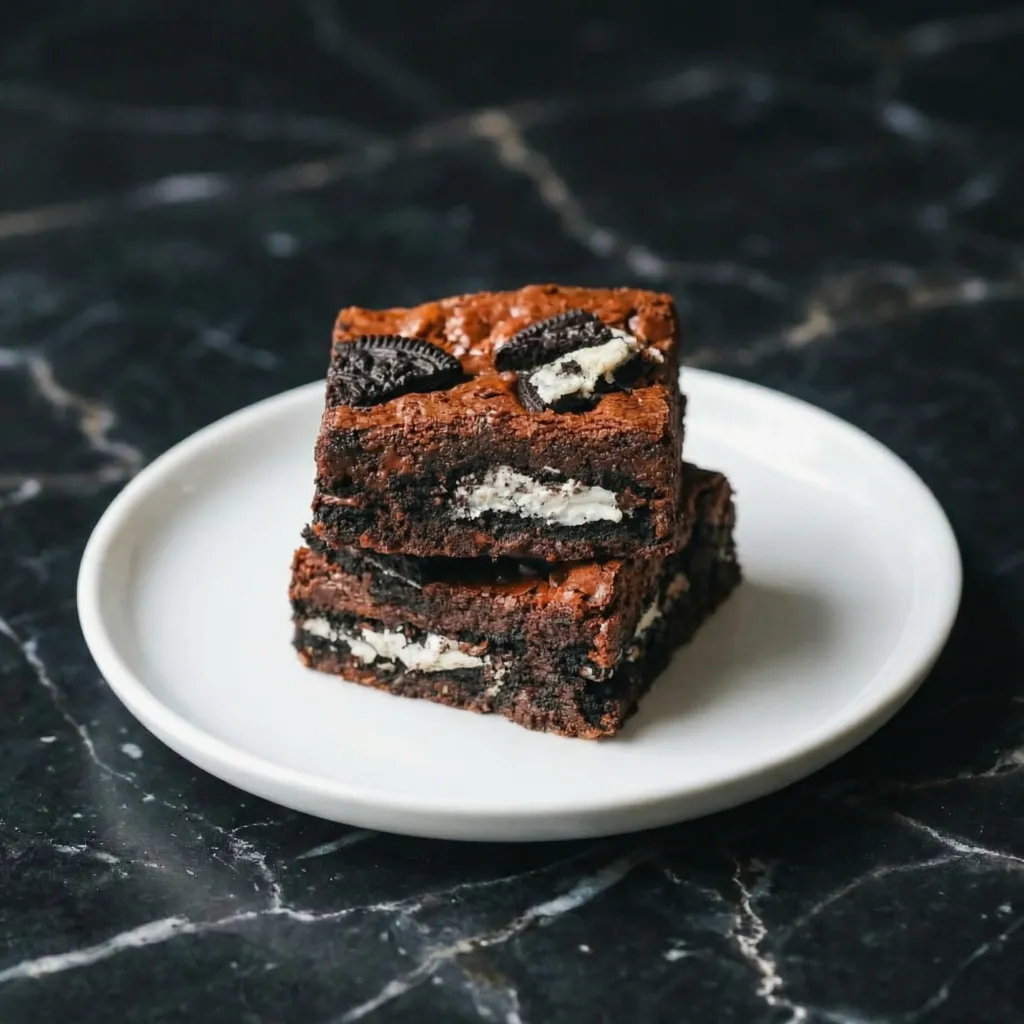
If you love rich, chocolatey brownies and can’t resist the classic cookies-and-cream flavor of Oreos, then Oreo Brownies are about to become your new favorite dessert.
These brownies are intensely fudgy, layered with whole Oreo cookies, and topped with even more crunchy chocolate goodness. Each bite delivers deep cocoa flavor, creamy filling, and a satisfying cookie crunch.
The best part?
They’re surprisingly easy to make. Let’s walk step by step through creating bakery-style Oreo brownies right in your own kitchen.
Why You’ll Love These Oreo Brownies
- Ultra-fudgy texture
- Layers of whole Oreo cookies
- Crackly brownie top
- Rich chocolate flavor
- Simple, pantry-friendly ingredients
They’re perfect for parties, bake sales, or when you simply need a serious chocolate fix.
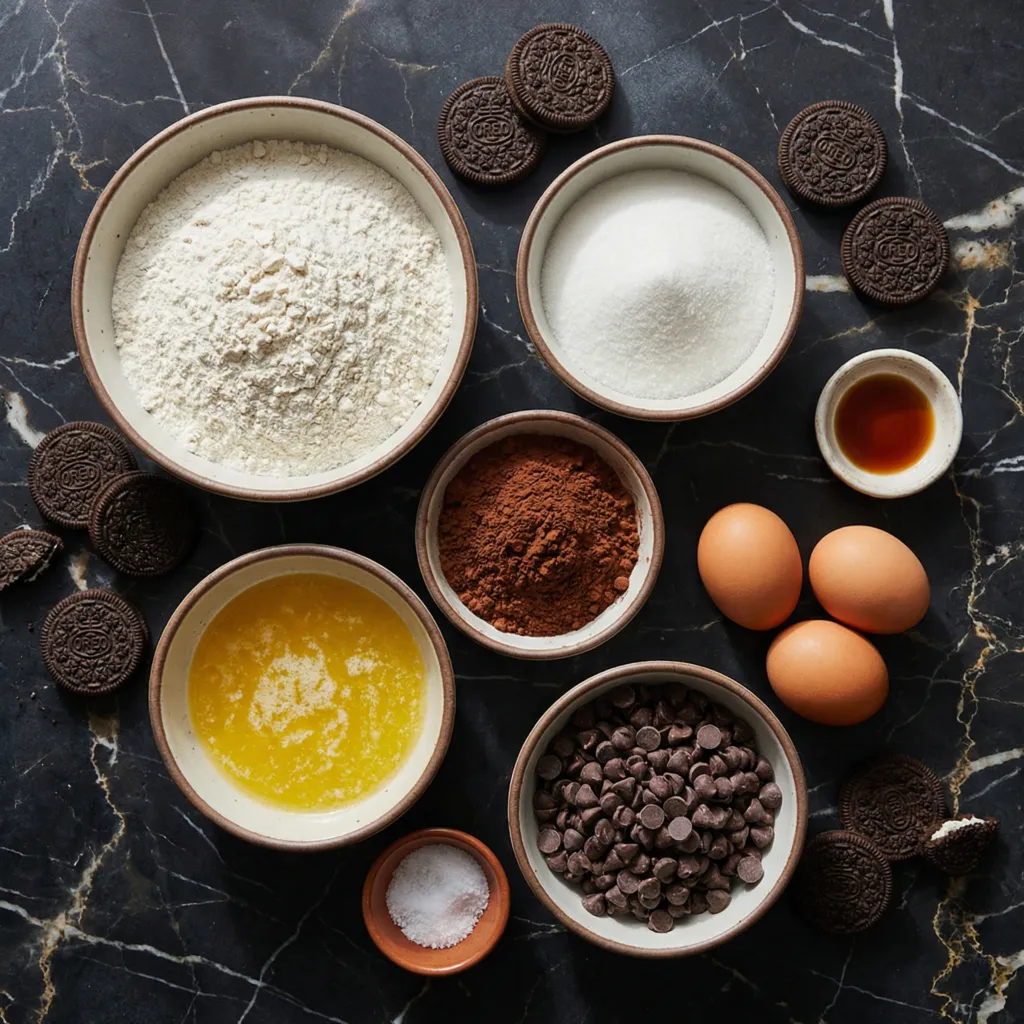
Preheat and Prepare Your Pan
Preheat your oven to 350°F (175°C).
Line a 9×9-inch baking pan with parchment paper, leaving some overhang for easy removal. Lightly grease the paper to prevent sticking.
Proper preparation ensures clean slices and easy removal later.
Melt the Butter
In a microwave-safe bowl or saucepan, melt the butter completely.
Allow it to cool slightly before mixing. Hot butter can cook the eggs if added immediately.
Melted butter helps create that signature dense, fudgy brownie texture.
Mix the Sugars
Add granulated sugar and brown sugar to the melted butter.
Whisk thoroughly until smooth and glossy. This step dissolves the sugars slightly and contributes to a shiny, crackly top.
Add Eggs and Vanilla
Add the eggs one at a time, whisking well after each addition.
Stir in the vanilla extract.
The mixture should become thick, smooth, and slightly lighter in color. Properly incorporating the eggs helps build structure and gives brownies their chewy texture.
Combine Dry Ingredients
In a separate bowl, whisk together:
- Flour
- Cocoa powder
- Salt
- Baking powder
Sifting the cocoa powder can help avoid lumps.
Combine Wet and Dry
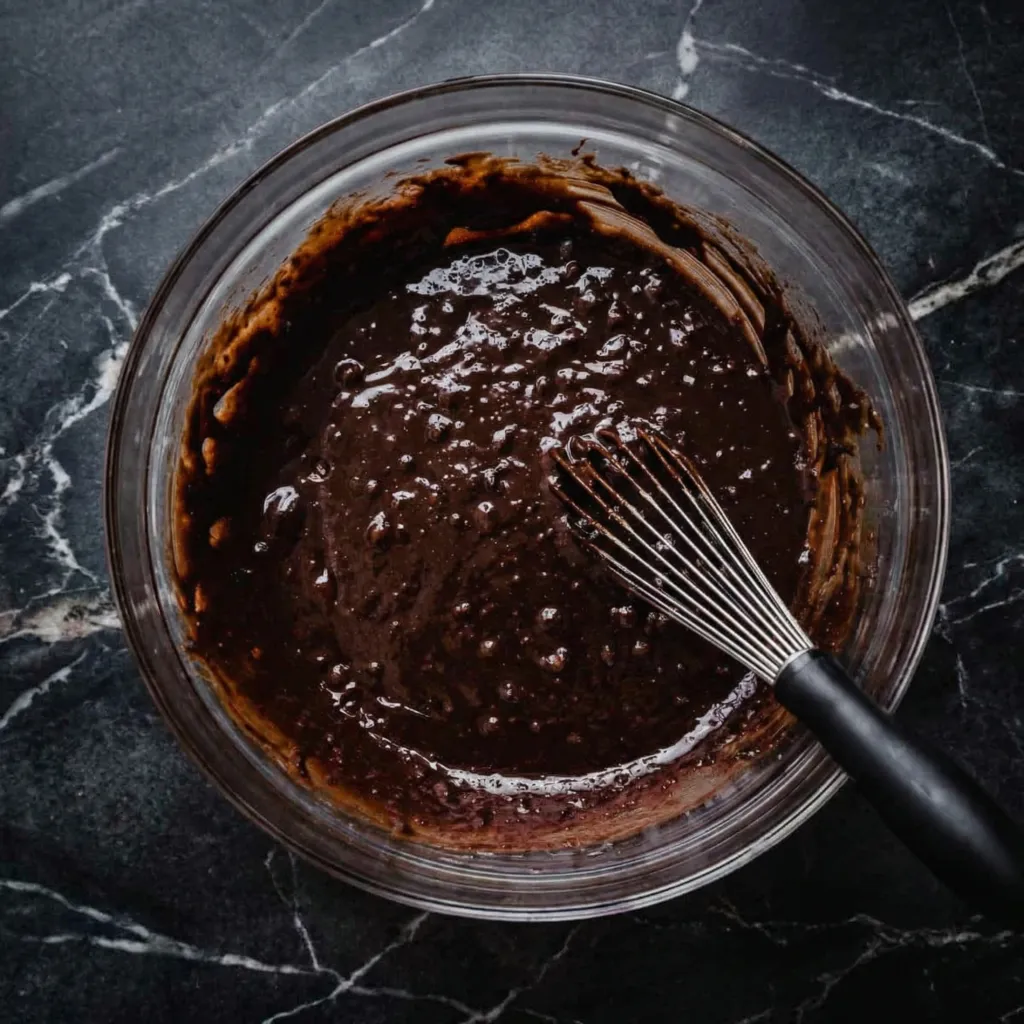
Gradually fold the dry ingredients into the wet mixture using a spatula.
Mix just until combined. Overmixing can make brownies cakey instead of fudgy.
Fold in the chocolate chips for extra richness.
The batter should be thick and glossy.
Layer the Oreos
Spread half of the brownie batter evenly into the prepared pan.
Place Oreo cookies in a single layer on top of the batter. You can arrange them in rows to ensure even distribution.
Gently press them down slightly.
Spread the remaining brownie batter over the Oreo layer, covering the cookies as evenly as possible.
For an extra touch, press a few broken Oreo pieces on top of the batter.
Bake to Perfection
Place the pan in the preheated oven.
Bake for 30–35 minutes.
The edges should look set, and the center should still appear slightly soft. A toothpick inserted into the center should come out with moist crumbs—not wet batter.
Be careful not to overbake. Slight underbaking keeps the brownies fudgy.
Cool Completely
Remove from the oven and allow the brownies to cool in the pan for at least 30 minutes.
For clean slices, let them cool completely or refrigerate for 1 hour before cutting.
Using the parchment overhang, lift the brownies out of the pan and place on a cutting board.
Slice and Serve
Use a sharp knife to cut into squares.
Wipe the knife clean between cuts for neat edges.
Serve as is, or elevate them with:
- A scoop of vanilla ice cream
- A drizzle of chocolate sauce
- A dusting of powdered sugar
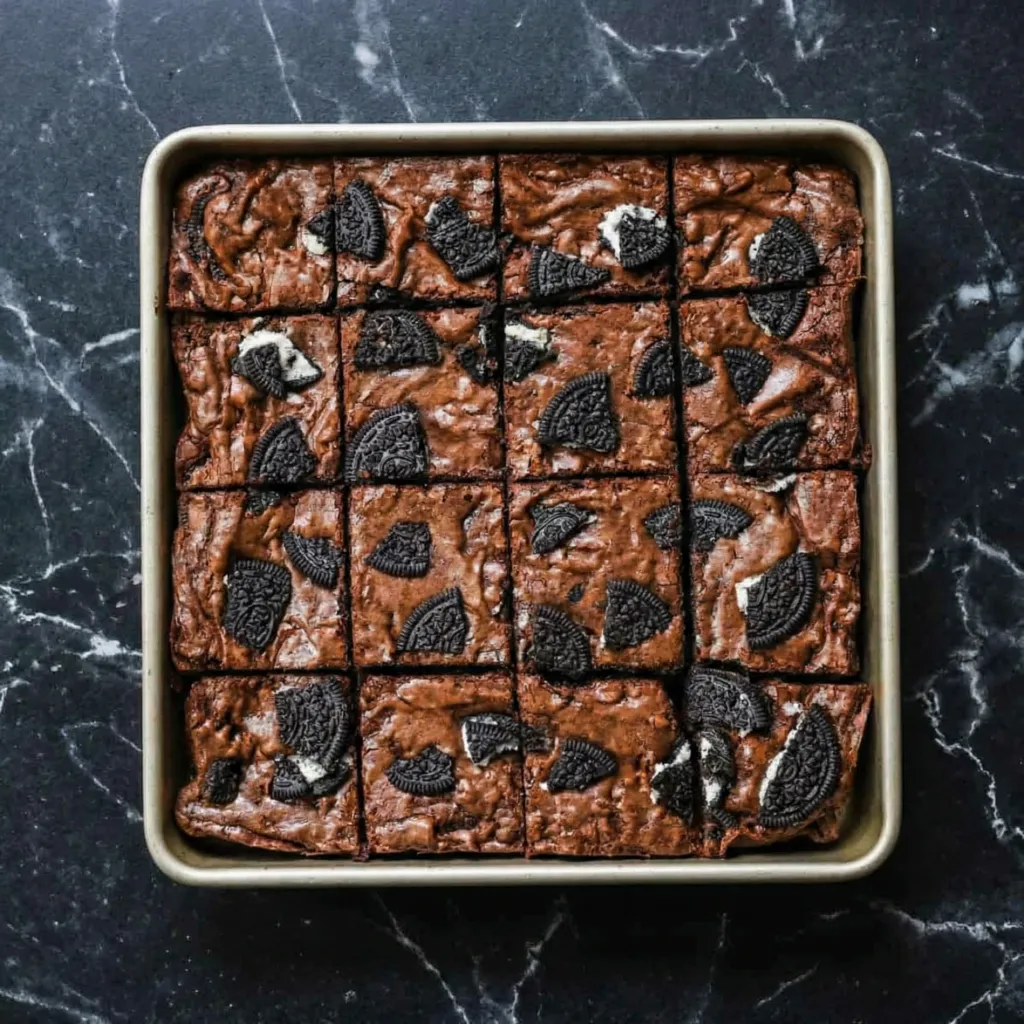
Texture and Flavor Highlights
- Deep chocolate intensity
- Dense, fudgy interior
- Crunchy Oreo layer
- Creamy cookie filling surprise
- Slightly crisp edges
Every bite combines gooey brownie richness with the familiar cookies-and-cream crunch.
Pro Tips for Perfect Oreo Brownies
- Use room temperature eggs. They mix more evenly.
- Don’t overmix. Stir until just combined.
- Underbake slightly. The brownies continue cooking as they cool.
- Line with parchment. Makes removal effortless.
- Chill before slicing. This helps maintain sharp layers.
Optional Variations
- Double Chocolate: Add white chocolate chips for contrast.
- Stuffed Center: Add a layer of sweetened cream cheese between the brownie and Oreo layers.
- Mint Twist: Use mint-flavored Oreos for a refreshing change.
- Peanut Butter Swirl: Drop spoonfuls of peanut butter on top and swirl before baking.
- Extra Crunch: Crush additional Oreos into the batter itself.
Storage Instructions
Store Oreo brownies in an airtight container at room temperature for up to 4 days.
For longer storage, refrigerate up to 1 week or freeze for up to 3 months.
To freeze, wrap individual slices tightly in plastic wrap and place in a freezer-safe container.
Why This Recipe Works
The combination of melted butter and balanced sugars creates a moist, dense base. Cocoa powder delivers deep chocolate flavor without making the brownies too sweet. The Oreo layer adds texture contrast and a creamy center that transforms ordinary brownies into something special.
Layering the cookies instead of mixing them into the batter keeps the structure defined and ensures every slice has that iconic Oreo surprise.
Oreo Brownies are indulgent, chocolate-packed, and impossible to resist. With their fudgy interior, crunchy cookie layer, and crackly top, they’re everything you want in a dessert bar.
Whether you’re baking for a celebration or simply treating yourself, this recipe delivers rich flavor and bakery-quality results every single time. Once you try them, plain brownies may never be enough again.