Quick Meals

Homemade English Muffins (Better Than Store-Bought, No Griddle Required)

Tested & Loved ★ 100% Delicious ★
Homemade English Muffins (Better Than Store-Bought, No Griddle Required)

Warm your milk to about 110°F before it touches the yeast. Too hot and you kill the yeast, too cold and the dough sulks and won't double. From there the dough stays sticky on purpose, which is what gives you those open nooks once it cooks. And these never see the oven. You build the brown crust in a dry skillet over medium-low heat, flipping until the inside hits 200°F.

By Nora Calloway

A little backstory

Despite the name, the English muffin as we know it is an American creation, generally credited to Samuel Bath Thomas, an English immigrant who set up a bakery in New York around 1880. The "nooks and crannies" tagline everyone associates with them is largely a product of Thomas' later brand marketing. That ragged open crumb is also why you split these with a fork instead of a knife, tearing along the holes rather than slicing them flat.

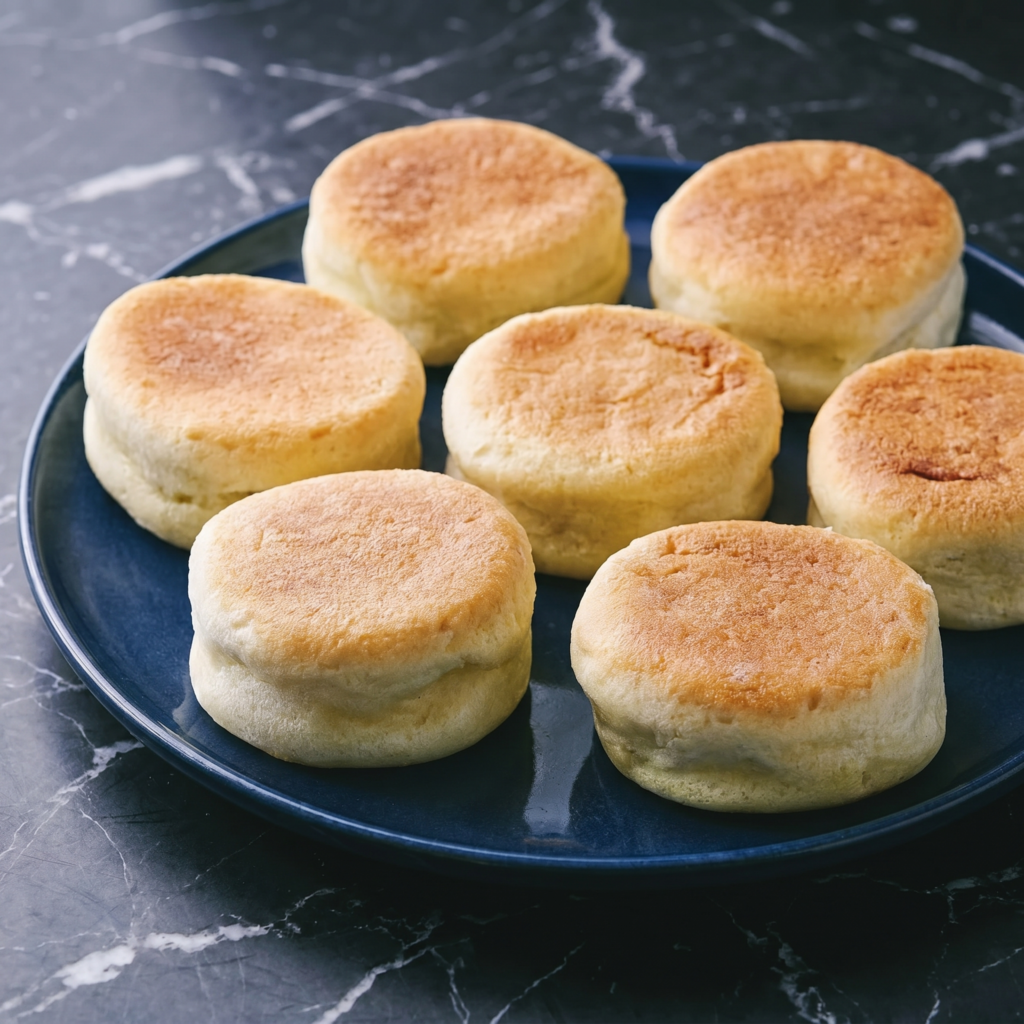
English muffins are all about the nooks and crannies. This homemade version delivers. Toasted until golden. Butter melts into every pocket. No special griddle rings required. Just a skillet. Breakfast forever changed.
Makes 8-10 muffins.

Step-by-Step Instructions

1

Make Dough

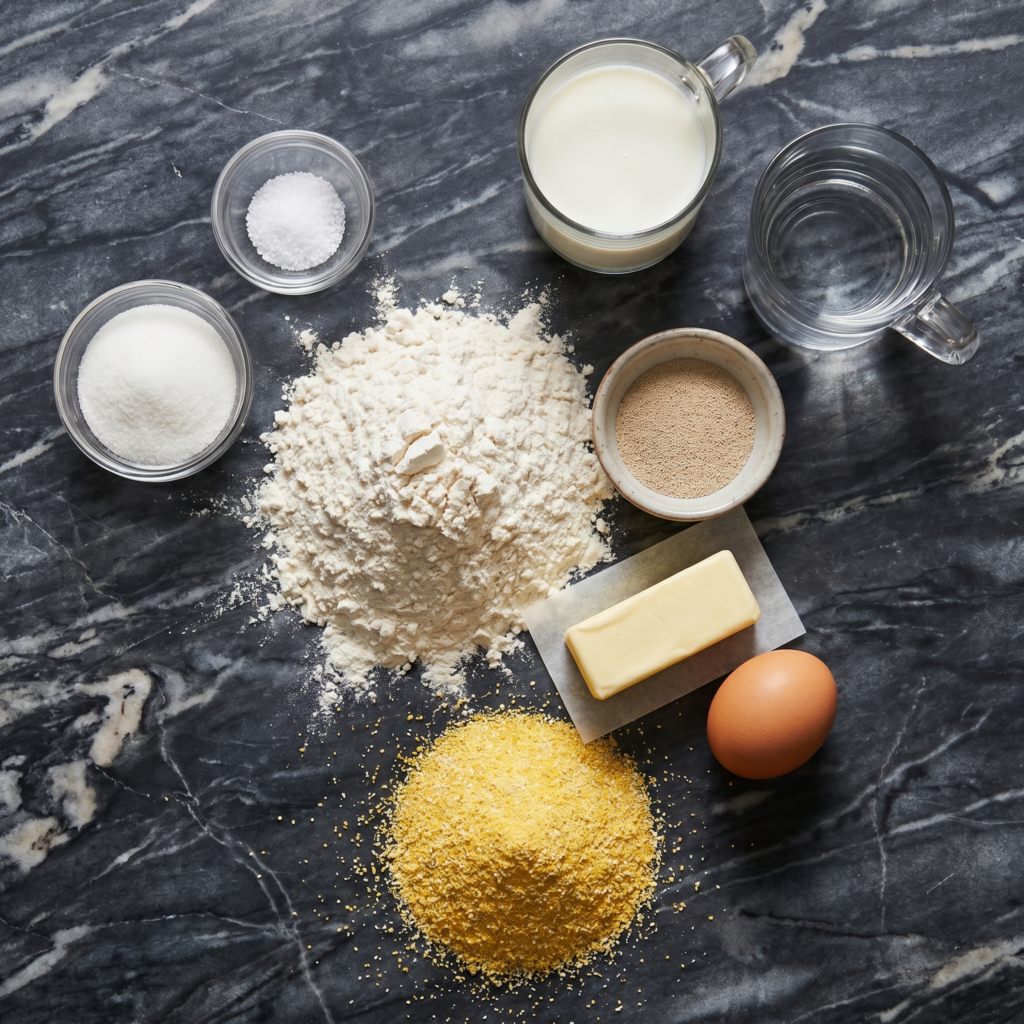
Whisk flour, sugar, salt, and yeast. Add warm milk, warm water, and melted butter. Mix into a sticky dough.

Knead 5-7 minutes until smooth (dough will be soft). Cover and rise 1-2 hours until doubled.

2

Shape

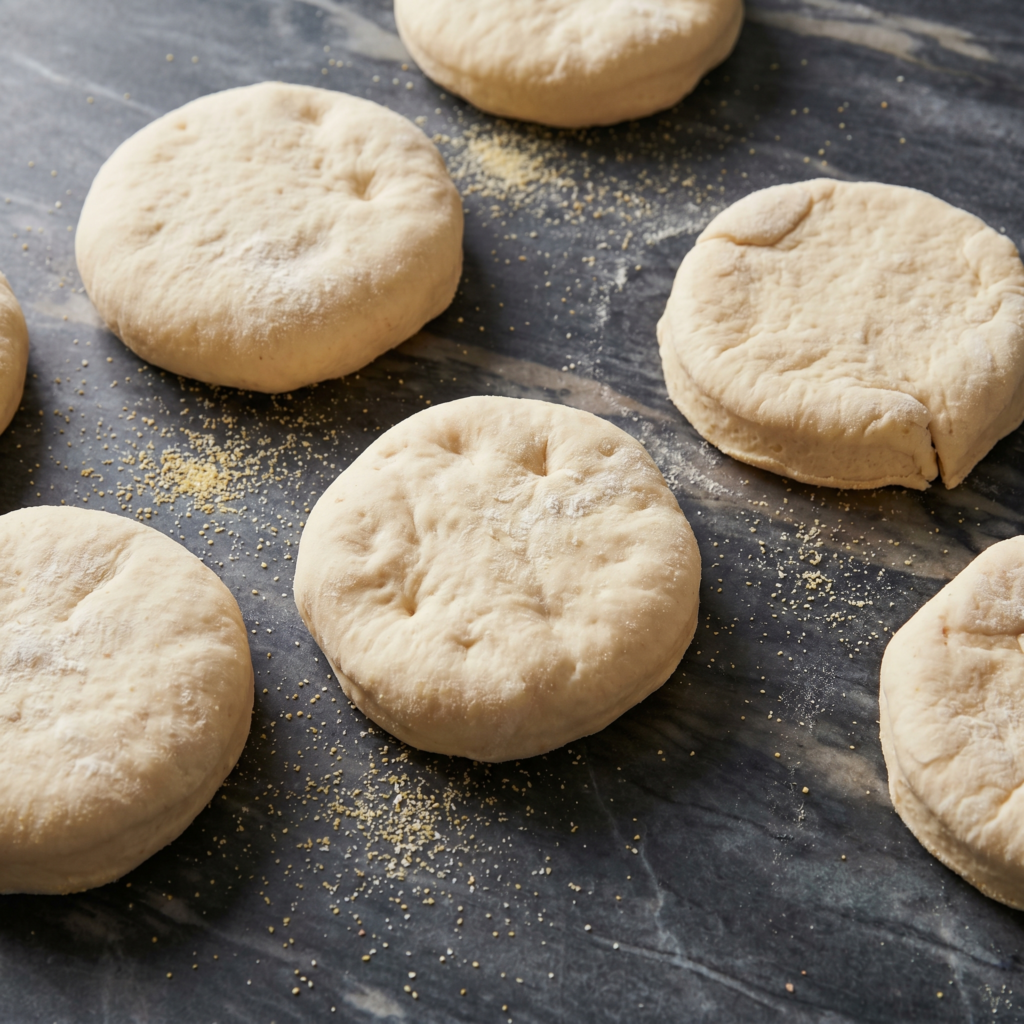
Punch down dough. Turn onto a floured surface. Roll to ½-inch thickness.

Cut into 3-inch rounds using a biscuit cutter or glass. Re-roll scraps.

Sprinkle a baking sheet generously with cornmeal. Place muffins on sheet. Sprinkle tops with more cornmeal. Cover and rise 45-60 minutes until puffy.
3

Cook (Not Bake)

Heat a large skillet or griddle over medium-low heat (no oil needed).

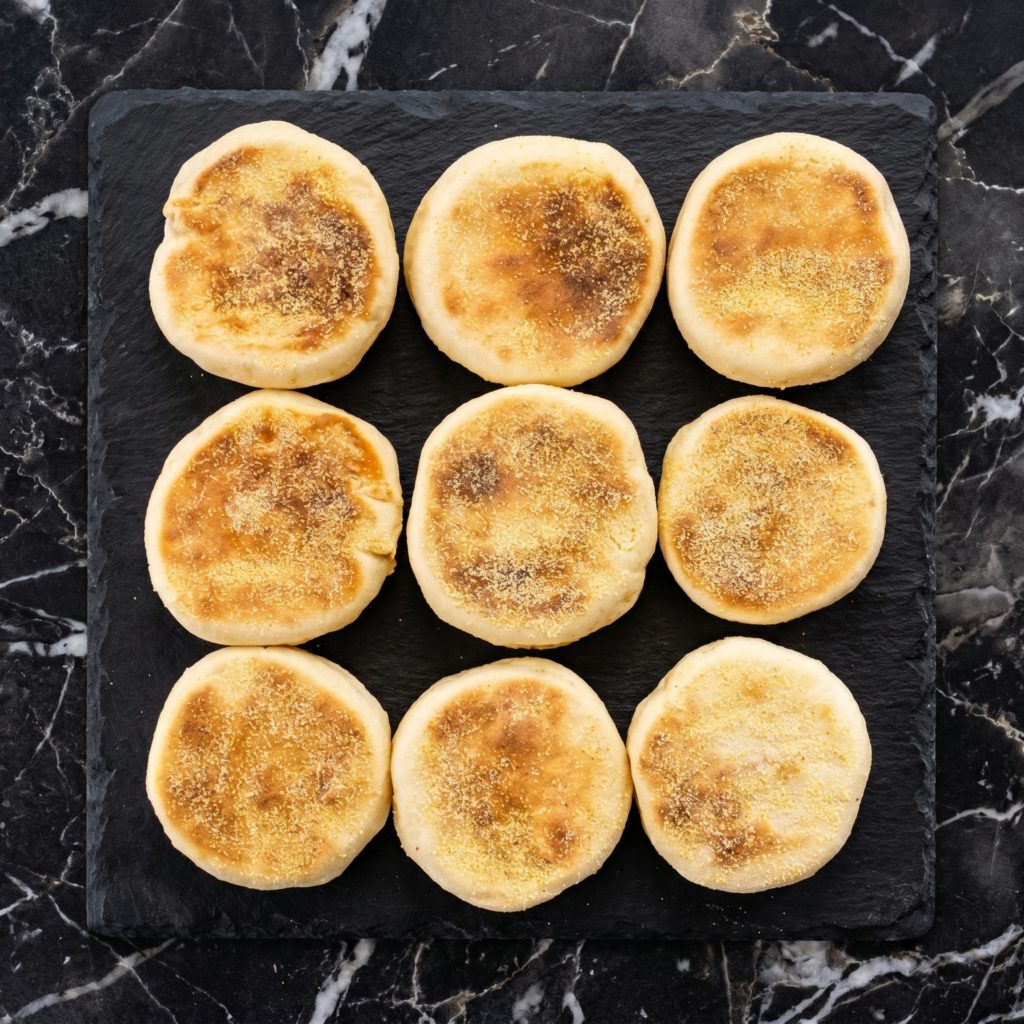
Carefully transfer muffins to the skillet. Cook 5-7 minutes per side until golden brown and cooked through (internal temp 200°F / 93°C).

Muffins will puff up as they cook. If browning too fast, reduce heat.

4

Cool & Toast

Cool on a wire rack. To serve, split with a fork (don’t cut — fork preserves nooks and crannies). Toast until golden. Butter generously. Add jam, eggs, or make a breakfast sandwich.

Summary

Prep Time: 20 min + rises | Cook Time: 20 min | Total: 40 min + rises

Yield: 8-10 muffins | Difficulty: Medium

Storage Notes

  • Counter (airtight): 5 days.
  • Freezer: 3 months. Split with a fork before freezing. Toast frozen muffins directly — no thawing needed. Never refrigerate (dries out).
Swaps & Substitutions

Questions & Answers

Why are my muffins doughy in the middle?

Your heat was too high, so the outside browned before the inside set. Drop to medium-low and give them the full 5-7 minutes per side. An instant-read thermometer pulling 200°F in the center is the real doneness cue.

Can I make the dough ahead?

Yes. After the first rise, punch it down and refrigerate overnight. Let it come back to room temperature while you shape and do the second rise, which will run a little longer when the dough is cold.

Why split with a fork instead of cutting?

A knife slices the air pockets flat and you lose the craggy surface that catches butter. Pricking around the edge with a fork and pulling apart tears along the existing holes, so you keep the nooks and crannies.

How do I store them and how long do they keep?

Keep them in a sealed bag at room temperature for 2-3 days, or freeze pre-split for up to 3 months. Toast straight from frozen, no need to thaw.

My dough is too sticky to handle. Did I do something wrong?

Probably not. This dough is meant to be wet, which is part of what makes the open texture. Flour your surface and hands lightly rather than working more flour into the dough, since extra flour tightens the crumb.

More from the Recipe Box

Craving more delicious recipes?

Subscribe to our newsletter and get our favorite weekend recipes delivered to your inbox every Friday morning.