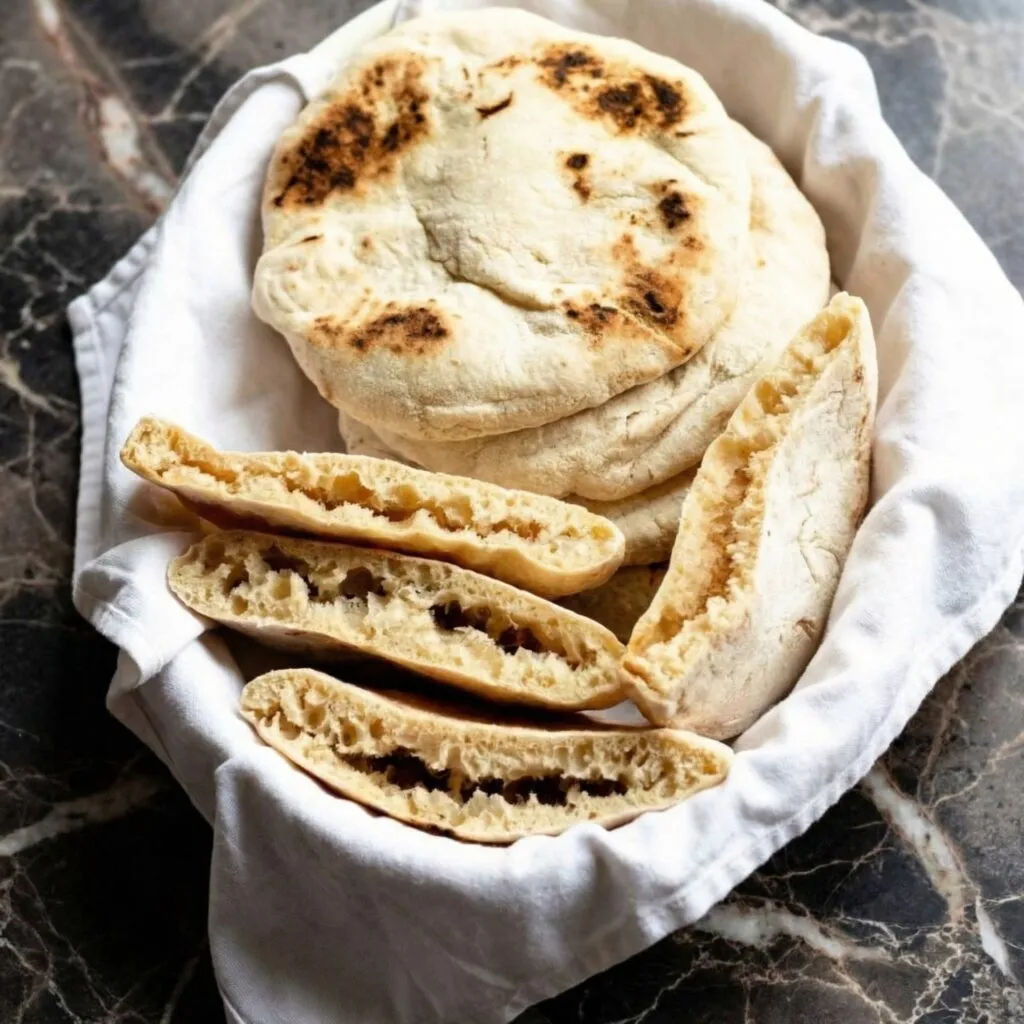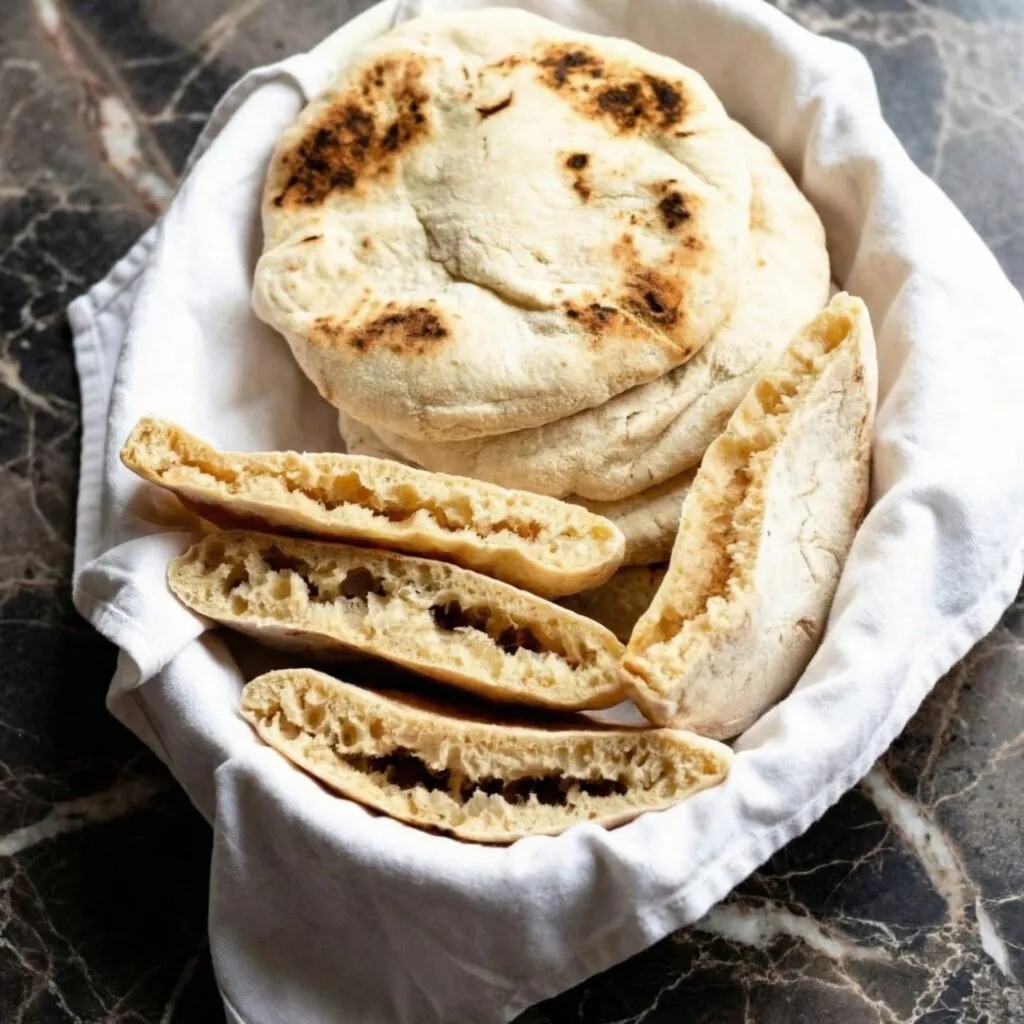
There is something truly magical about watching pita bread puff up in the oven. One moment it’s a flat disc of dough, and the next—poof!—it balloons into a gorgeous, golden pocket, just waiting to be filled with your favorite ingredients.
Making pita bread at home is easier than you might think. With just a handful of simple ingredients and a hot oven, you can create soft, pillowy pitas that put any store-bought version to shame.
They’re perfect for stuffing with gyros and falafel, tearing and dipping into hummus, or simply slathering with butter and eating warm from the oven. Once you try homemade, there’s no going back. Let’s make some pita!
Step-by-Step Instructions
Mix the Dough
- In a large bowl or the bowl of a stand mixer, whisk together the flour, instant yeast, salt, and sugar.
- Add the warm water and olive oil. If using active dry yeast instead of instant, dissolve it in the warm water with a pinch of sugar first and let it sit for 5-10 minutes until foamy, then proceed.
- Mix with a wooden spoon or dough hook until a shaggy dough forms.
Knead
- If using a stand mixer, knead with the dough hook on medium-low speed for 5-7 minutes, until the dough is smooth and elastic.
- If kneading by hand, turn the dough onto a lightly floured surface and knead for 8-10 minutes, until smooth and springy.
- The dough should be soft, smooth, and slightly tacky but not sticky. Add flour one tablespoon at a time only if absolutely necessary.
First Rise
- Place the dough in a lightly oiled bowl, cover with plastic wrap or a clean kitchen towel, and let rise in a warm place for 1-1.5 hours, until doubled in size.
Divide and Shape
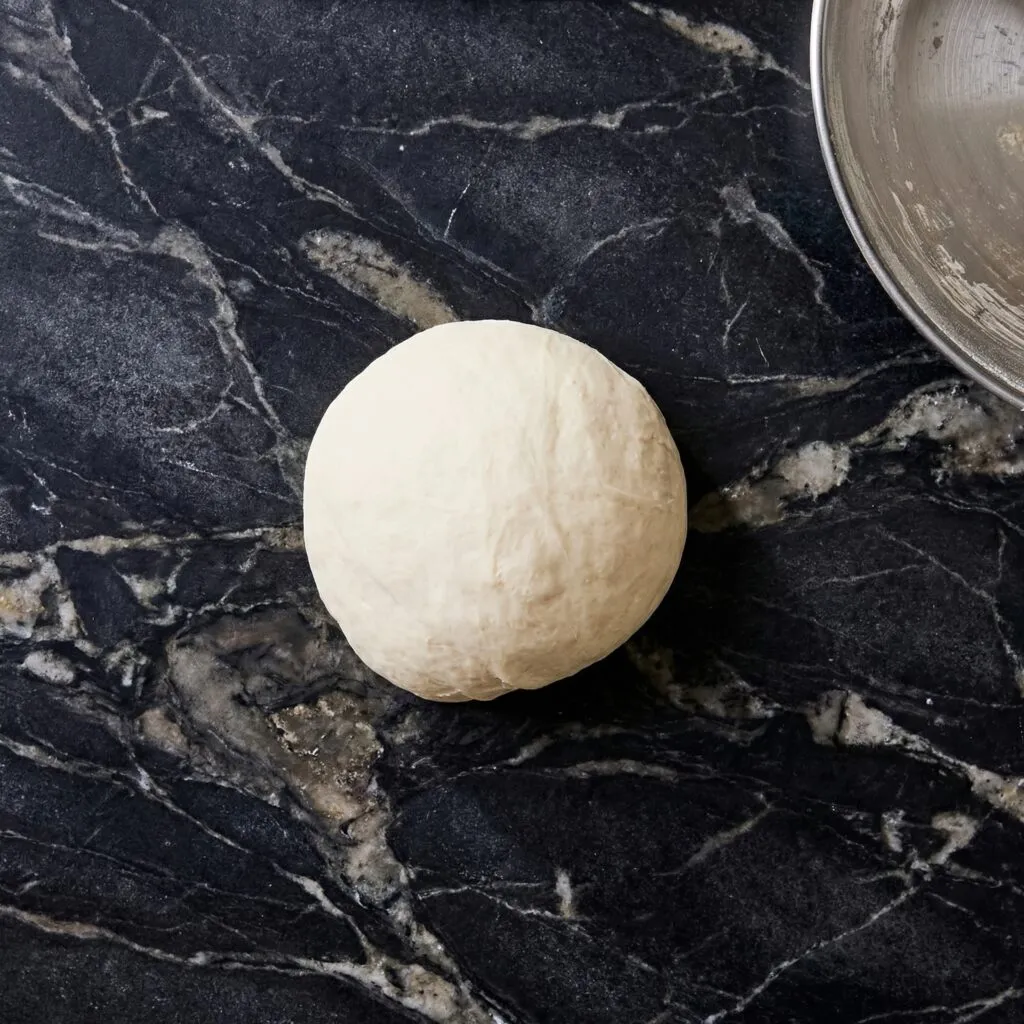
- Punch down the risen dough and turn it onto a lightly floured surface.
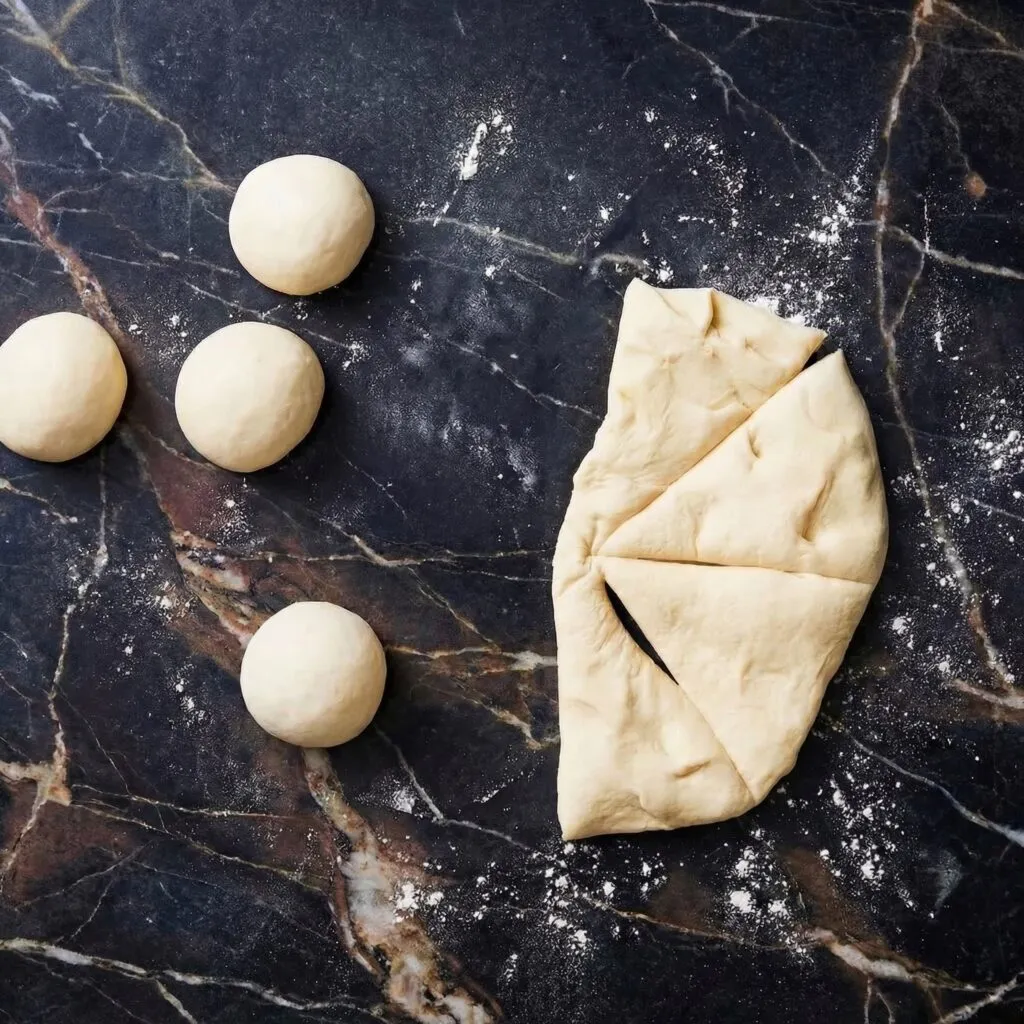
- Divide the dough into 8 equal pieces (about 110-120g each).
- Shape each piece into a smooth ball by pulling the edges underneath and pinching to seal. Place on a lightly floured surface, cover with a towel, and let rest for 15-20 minutes. This rest is crucial for easy rolling.
Roll Out
- On a lightly floured surface, roll each ball into a circle about ¼-inch thick and 6-7 inches in diameter. Roll gently and evenly—if the edges are too thin, they won’t puff properly.
- Place the rolled circles on a lightly floured baking sheet, separated by parchment paper or floured towels. Cover and let rest for 30-45 minutes while you preheat the oven.
Preheat the Oven and Baking Surface
- Place a baking stone, steel, or an inverted heavy baking sheet on the middle rack of your oven. Preheat to 500°F (260°C) for at least 30 minutes. The intense heat is essential for the pita to puff.
- If you have one, place a cast iron skillet on the bottom rack to create steam, or have a spray bottle ready for water.
Bake
- Carefully remove the hot baking surface from the oven and dust lightly with cornmeal or semolina if using (this prevents sticking and adds a nice texture).
- Place 2-3 pitas on the hot surface (don’t overcrowd).
- Bake for 2-3 minutes, until they puff up dramatically and get lightly golden spots. You can also toss a few ice cubes or spray water into the bottom of the oven just before closing the door to create steam, which helps with puffing.
- Flip and bake for another 1-2 minutes if desired, though this isn’t always necessary.
- Remove from the oven and wrap immediately in a clean kitchen towel to keep them soft. The steam trapped in the towel keeps them pliable.
- Repeat with remaining pitas.
Serve
- Serve warm, stuffed with your favorite fillings, or alongside dips like hummus, tzatziki, and baba ganoush.
Summary
Prep Time: 20 minutes | Rise Time: 1.5-2 hours | Bake Time: 3-4 minutes per batch | Total Time: About 2 hours
Yield: 8 pitas
Difficulty: Easy to Intermediate
Storage and Make-Ahead Tips
How to Store:
Store cooled pitas in an airtight container or zip-top bag at room temperature for up to 3 days. To keep them soft, you can add a slightly damp paper towel to the bag and refresh in the microwave for 10-15 seconds.
Can You Freeze Them?
Absolutely! Pita bread freezes beautifully. Stack cooled pitas with parchment paper between each one to prevent sticking, then place in a freezer bag. Freeze for up to 3 months. Thaw at room temperature and warm in a dry skillet, oven, or microwave before serving.
Make-Ahead Dough:
You can prepare the dough through step 3 (first rise), then punch it down, cover tightly, and refrigerate for up to 24 hours. When ready to bake, let it come to room temperature, then proceed with dividing, shaping, and resting.
Freezing Shaped Pitas:
Roll out the pitas, place them on parchment-lined baking sheets with parchment between layers, and freeze until solid. Transfer to a freezer bag. Bake from frozen directly on a hot baking stone—they may need an extra minute.
Reviving Day-Old Pitas:
Sprinkle slightly stale pitas with a few drops of water, wrap in foil, and warm in a 300°F oven for 5-10 minutes. They’ll taste almost freshly baked.