Baking

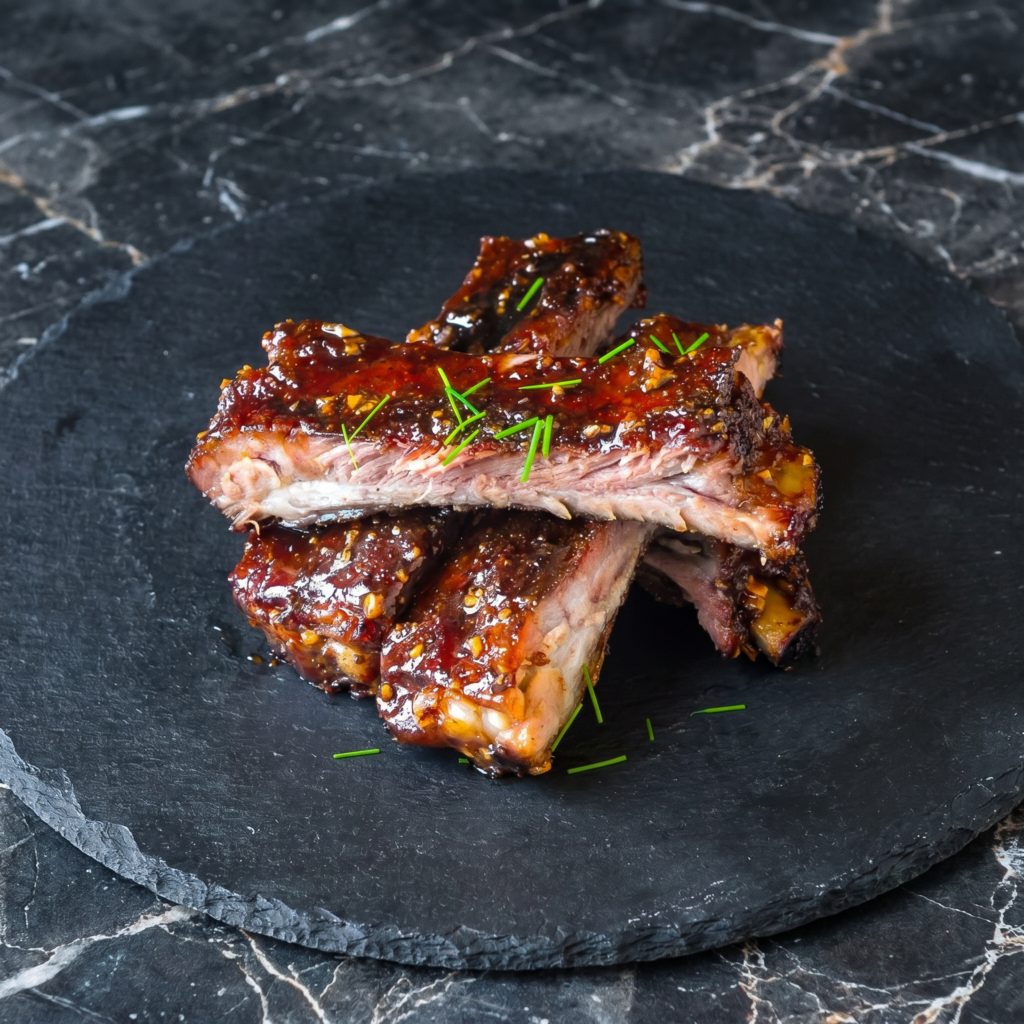
Honey Garlic BBQ Ribs: Sticky, Sweet, Fall-Off-The-Bone

Tested & Loved ★ 100% Delicious ★
Honey Garlic BBQ Ribs: Sticky, Sweet, Fall-Off-The-Bone

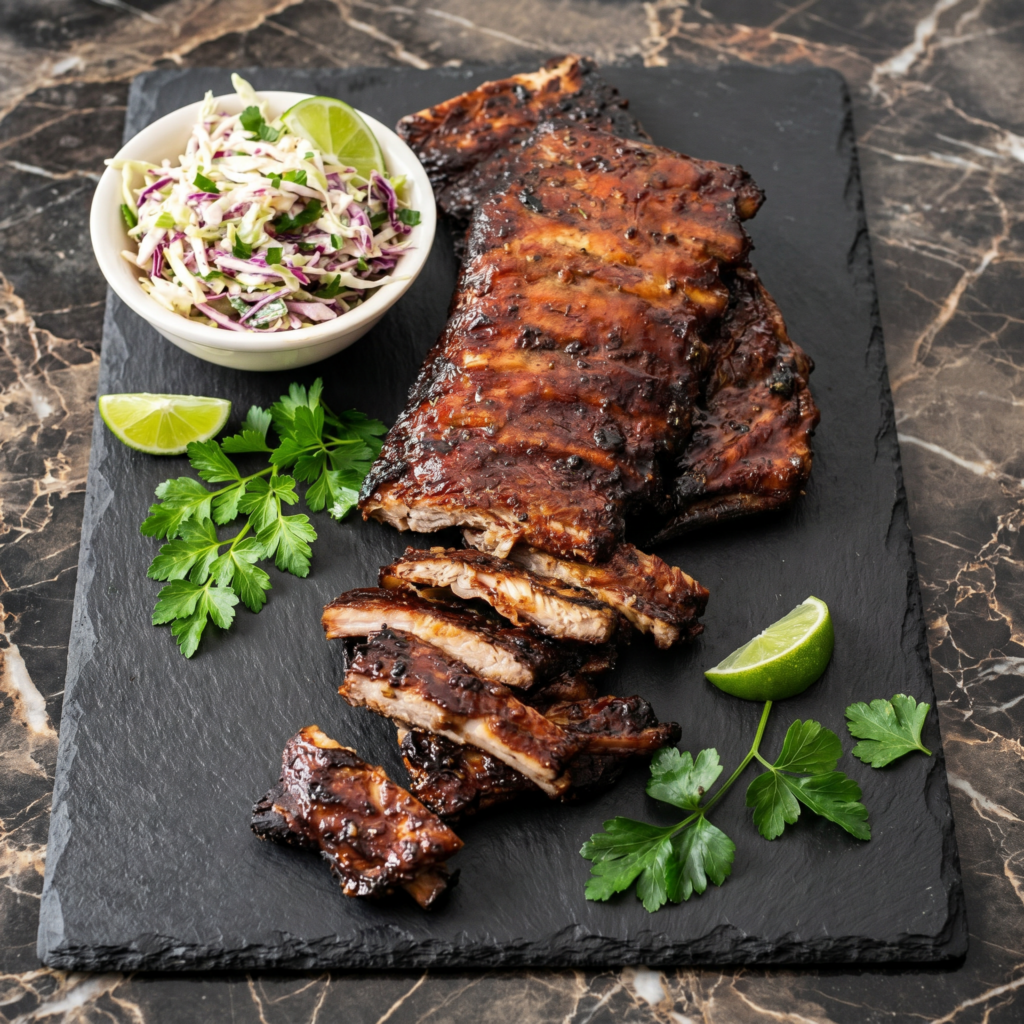
Slide a paper towel under the silverskin on the back of the rack and it peels off in one rubbery sheet, which is the step most people skip and then wonder why their ribs stay chewy. These go into a 300°F oven wrapped tight in foil for the better part of three hours, so the meat steams in its own fat and loosens from the bone before any sauce touches it. The honey garlic glaze comes later, brushed on and run under the broiler for a minute or two until the edges catch and turn sticky.

By Nora Calloway

A little backstory

Wrapping ribs in foil partway through, the so-called Texas crutch, is a competition-barbecue trick for pushing meat toward tender faster and keeping it from drying out. The honey-and-garlic direction here leans on the sweet, sticky lacquer of Chinese char siu more than on smoky American pit sauce. It's a home-oven mashup rather than a regional tradition.

Ribs sound intimidating. They’re not.

Low heat. Long cook. Sticky honey garlic glaze. That’s the secret. No smoker. No grill. Just an oven and some patience. These ribs will make you look like a pitmaster.

Step-by-Step Instructions

1

Preheat and Prep

Preheat oven to 300°F (150°C). Line a baking sheet with foil.

Remove membrane from back of ribs (grip with paper towel and pull).

2

Season the Ribs

Mix salt, pepper, garlic powder, paprika, and cayenne. Rub all over ribs.

Wrap ribs tightly in foil. Place on baking sheet.

3

Bake Low and Slow

Bake 2.5 to 3 hours until tender (meat pulls back from bones).

4

Make the Glaze

Whisk honey, BBQ sauce, garlic, soy sauce, vinegar, and brown sugar in a saucepan.

Simmer 5 minutes until thickened.

5

Glaze and Finish

Remove ribs from foil. Brush generously with glaze.

Increase oven to 400°F. Bake uncovered 10 minutes.

Broil 1-2 minutes for sticky, charred edges.

6

Serve

Rest 5 minutes. Slice. Serve with extra glaze. Napkins mandatory.

Summary

Prep Time: 15 minutes | Cook Time: 3 hours | Total Time: 3+ hours

Yield: 4 servings (2 racks)

Difficulty: Easy (just needs time)

Storage Notes

Fridge:

Store leftovers for 4 days. Ribs get even more flavorful overnight.

Reheat:

Oven at 325°F for 15 minutes wrapped in foil. Microwave works but less sticky.

Freezer Friendly:

Freeze cooked ribs for 2 months. Thaw overnight. Reheat in oven.

Pro Tip:

  • Make the glaze ahead. Keeps in the fridge for 2 weeks. Double it for extra dipping.
Swaps & Substitutions

Questions & Answers

How do I know the ribs are done before I glaze them?

The meat should have pulled back from the ends of the bones by about a quarter inch, and a toothpick or skewer slides into the meat between bones with no resistance. If it still feels tight, rewrap and give it another 20 to 30 minutes.

Can I make these ahead for a party?

Yes. Do the foil bake up to a day ahead, refrigerate the ribs still wrapped, then bring them to room temperature, glaze, and run the 400°F bake and broil right before serving.

Why did my glaze burn under the broiler?

Honey and brown sugar scorch fast, and broilers vary a lot. Keep the rack a few inches down, stay at the oven door, and pull the ribs at the first sign of dark sticky edges rather than waiting for char all over.

My ribs came out chewy instead of tender. What went wrong?

Usually one of two things: the membrane never came off, or the foil wasn't sealed tight so the steam escaped and the meat baked dry instead of braising. Both are fixable next time, and a leftover chewy rack can be rewrapped and put back in a low oven to soften.

How should I store and reheat leftovers?

Keep them in a sealed container in the fridge for three to four days. Reheat wrapped in foil at 300°F until warmed through, then a quick pass under the broiler brings the sticky glaze back.

More from the Recipe Box

Craving more delicious recipes?

Subscribe to our newsletter and get our favorite weekend recipes delivered to your inbox every Friday morning.