Quick Meals

Blooming Onion (The Outback Classic, Made at Home)

Tested & Loved ★ 100% Delicious ★
Blooming Onion (The Outback Classic, Made at Home)

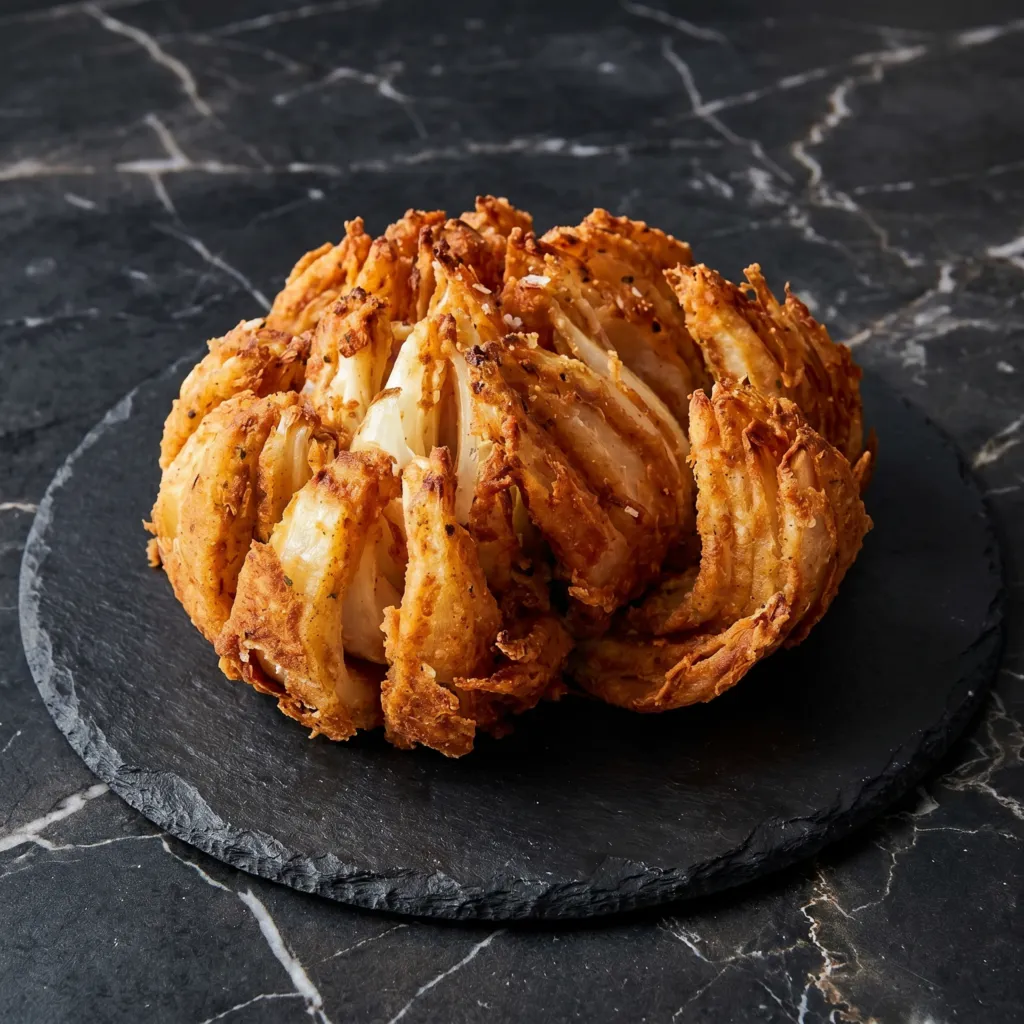
Position the peeled onion root-side up before you make a single cut, because that root is what holds the whole thing together once the petals open. You work outward in passes: four cuts, then eight, then twelve, each one stopping a half inch shy of the root. A 30-minute soak in ice water is what coaxes those petals to spread, and a double coat of seasoned flour with an egg wash in between is what makes them crisp instead of soggy. Fry root-side down first so the heart cooks through while the petals stay put.

By Nora Calloway

A little backstory

Outback Steakhouse put this on its menu in 1988 and called it the Bloomin' Onion, and the chain has said the dish was the reason it took off in those early years. It's an American steakhouse invention rather than anything Australian, despite the branding. Every version you've had since, from frozen-aisle copies to bar-menu knockoffs, traces back to that one fried onion.

You know the one. The giant fried onion that arrives at the table and everyone gasps.

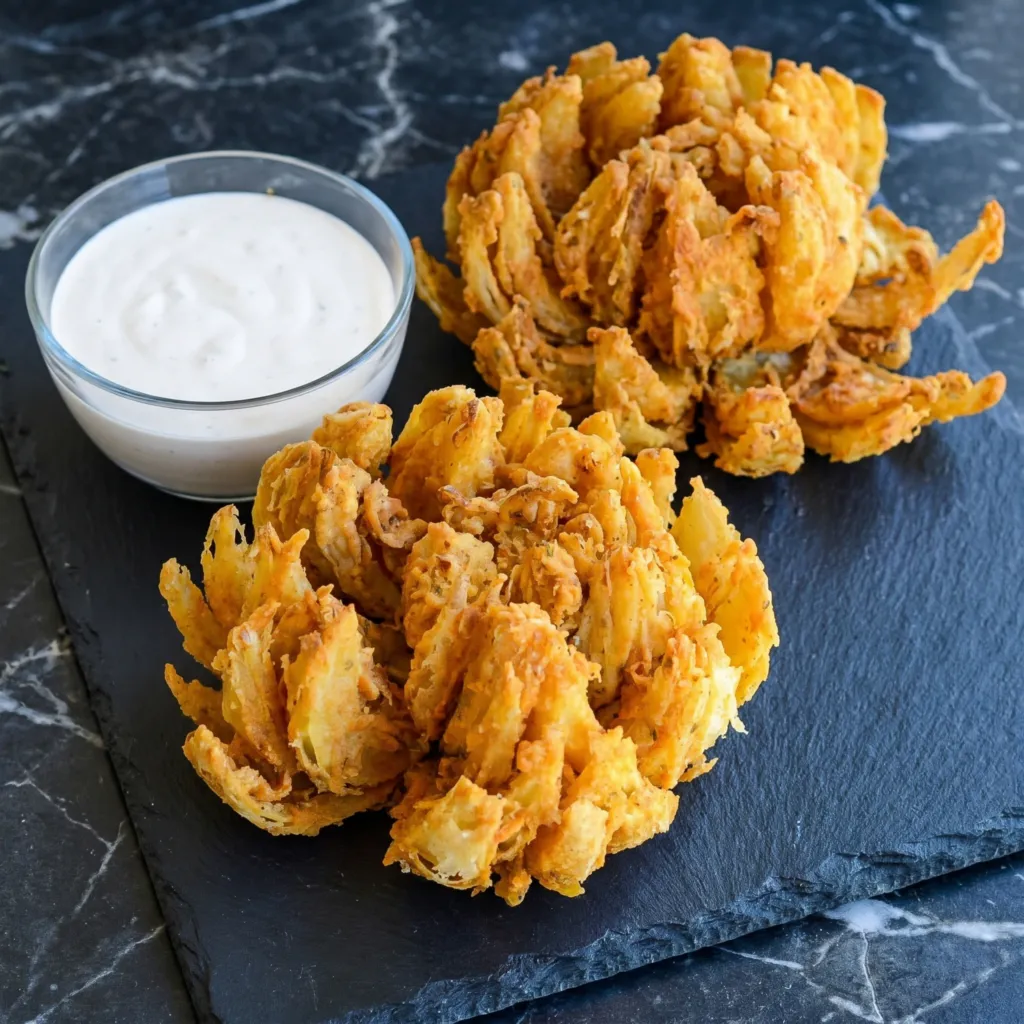
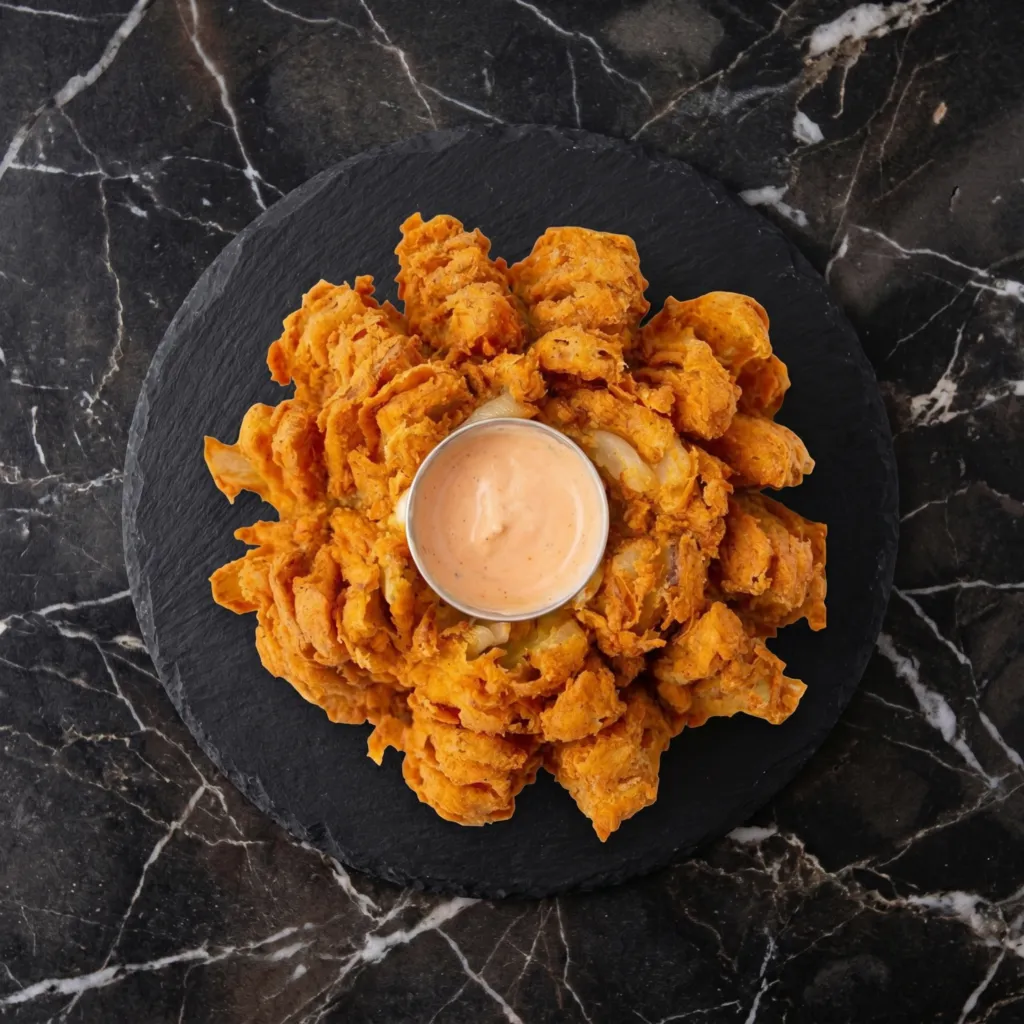
This blooming onion is that. Crispy, golden petals. A sweet, tender center. And that iconic dipping sauce that’s creamy, smoky, and just a little spicy. It looks impressive. It tastes even better. And yes, you can absolutely make it at home without a deep fryer.
Serves 4 as an appetizer.

Step-by-Step Instructions

1

Cut the Onion

  1. Slice off the top (not the root end). Peel the onion.
  2. Place root-side up. Cut down into the onion, leaving ½ inch from the root. Make 4 cuts, then 8, then 12. Petals will fall open.
  3. Gently separate the petals with your fingers.
2

Soak

  1. Place onion in a bowl of ice water for 30 minutes. This helps petals open and removes sharpness.
  2. Drain and pat dry.
3

Season the Flour

  1. In a bowl, mix flour, paprika, garlic powder, cayenne, salt, and pepper.
  2. In another bowl, whisk eggs and milk.
4

Coat the Onion

  1. Dredge onion in flour mixture (get between petals). Shake off excess.
  2. Dip in egg mixture, then back into flour mixture for a second coat.
5

Fry

  1. Heat 3 inches of oil to 375°F (190°C).
  2. Place onion root-side down in oil. Fry for 3-4 minutes, rotating carefully.
  3. Flip and fry another 2-3 minutes until golden brown.
  4. Drain on paper towels.
6

Make the Sauce

  1. Mix all sauce ingredients in a small bowl.
  2. Serve onion with sauce on the side (or in the center).

Summary

Prep Time: 20 minutes + 30 minutes soak | Cook Time: 10 minutes | Total Time: 1 hour

Yield: 1 blooming onion

Difficulty: Medium

Storage Notes

  • Leftovers? Honestly, blooming onions don’t reheat well. They get sad and soggy.
  • Make ahead: Cut the onion and refrigerate in water for up to 4 hours. Fry fresh.
  • Sauce: Dipping sauce keeps in the fridge for 1 week.
  • Pro tip: This is a fry-and-eat-immediately situation. Plan accordingly.
Swaps & Substitutions

Questions & Answers

My petals didn't open. What went wrong?

Usually the cuts didn't go deep enough or stopped too far from the root. Cut down until the knife is about a half inch above the root, then give the onion its full ice-water soak; the cold is what makes the petals splay.

Do I really need to coat it in flour twice?

Yes. The first flour layer grips the onion, the egg wash glues the second layer on, and that second coat is what crisps up in the oil. Skip it and the breading slides off in the fryer.

Why root-side down to start?

The dense root end takes longest to cook, so it goes in first to get a head start. It also anchors the petals so they don't float apart while the oil is hottest.

How do I keep the oil at 375?

Use a thermometer and let it recover between moves. Lowering a room-temperature onion drops the temp fast, so wait for it to climb back before you flip, and adjust the burner rather than walking away.

Can I make it ahead?

Fry it fresh; it goes limp within an hour. You can cut and soak the onion earlier in the day and keep it in the ice water in the fridge, and the dipping sauce actually improves after a few hours, so make that ahead.

More from the Recipe Box

Craving more delicious recipes?

Subscribe to our newsletter and get our favorite weekend recipes delivered to your inbox every Friday morning.