Quick Meals

Char Siu Bao (Fluffy Clouds Filled with Sweet BBQ Pork)

Tested & Loved ★ 100% Delicious ★
Char Siu Bao (Fluffy Clouds Filled with Sweet BBQ Pork)

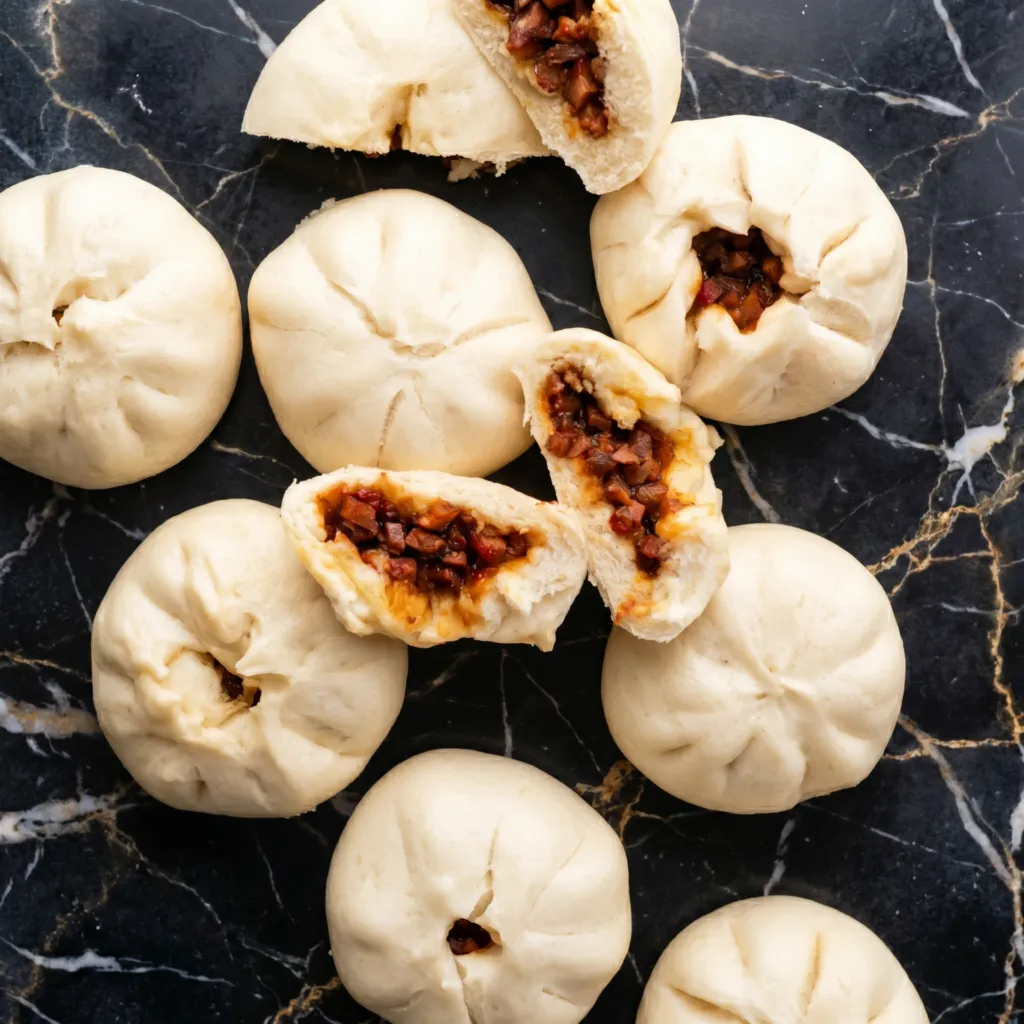
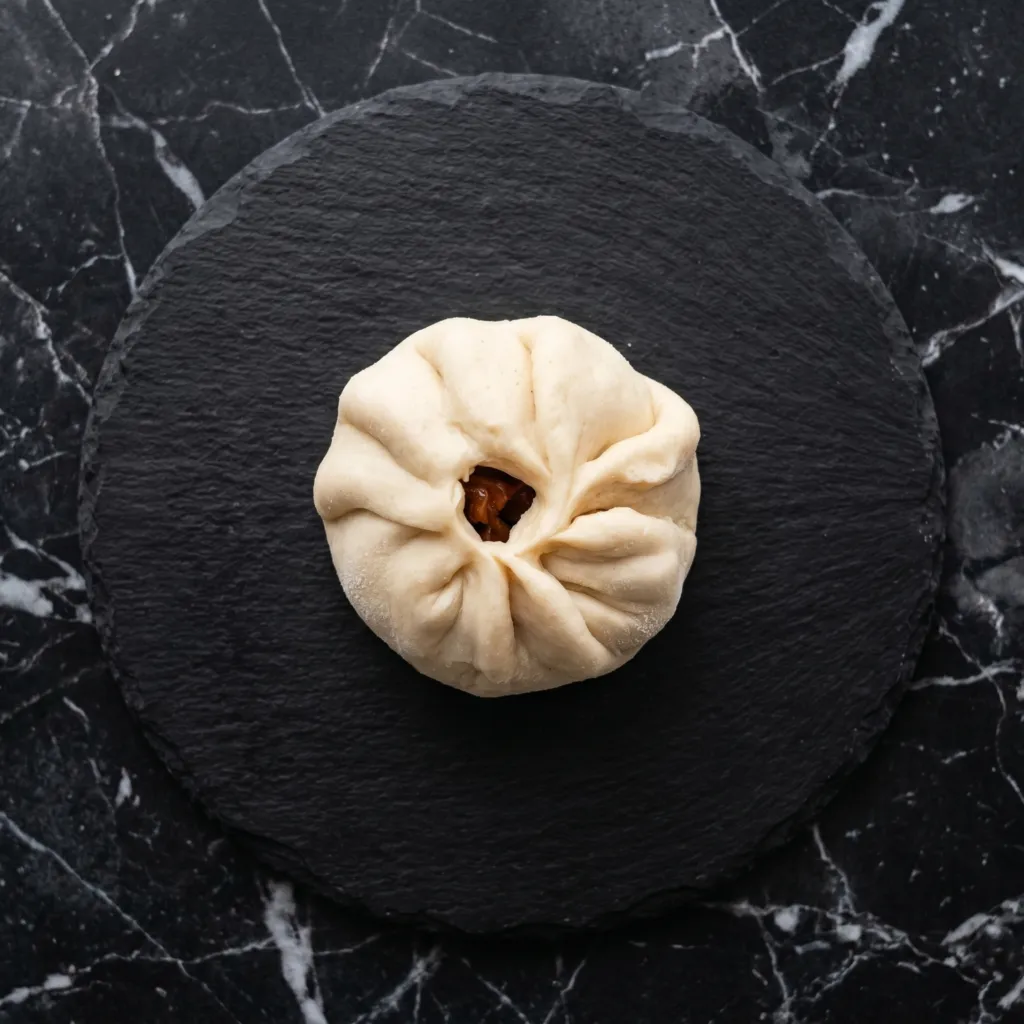
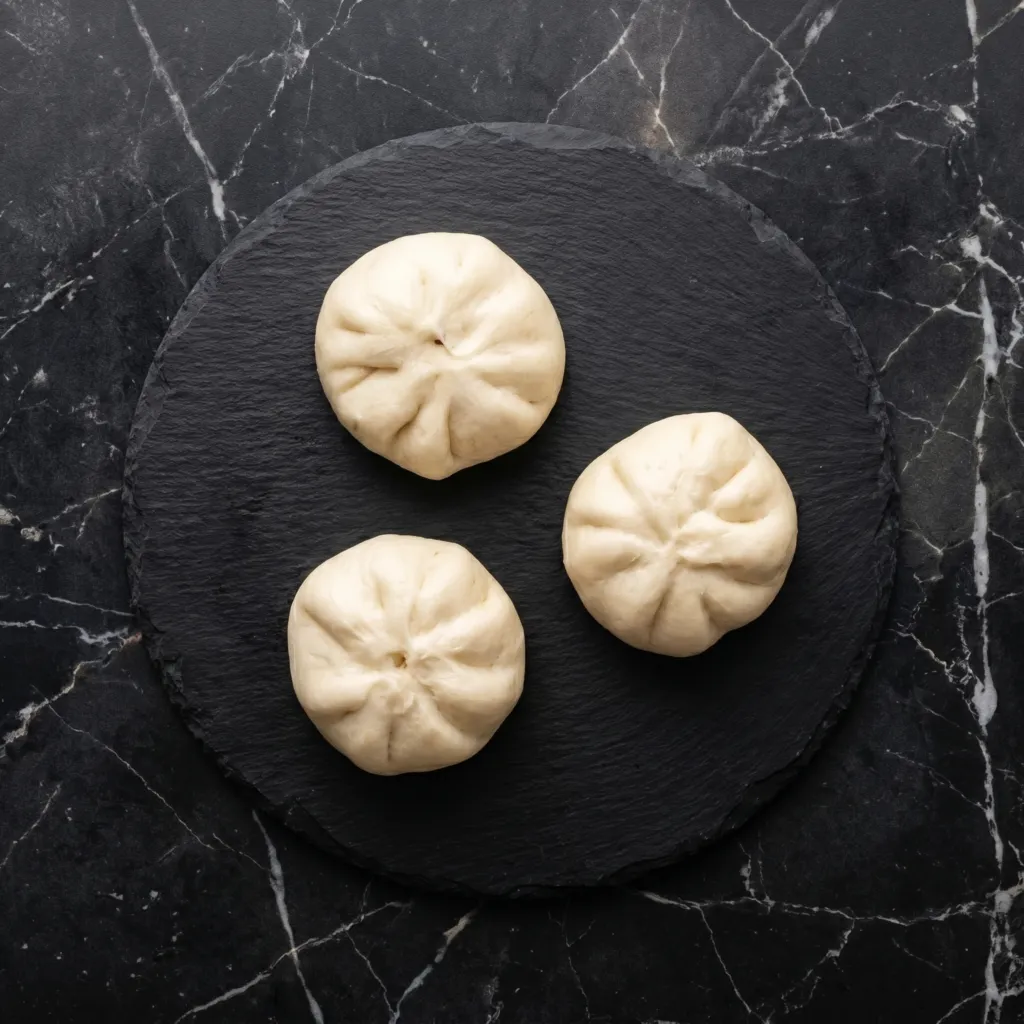
Cook the diced char siu with the oyster, soy, and hoisin only until the cornstarch slurry pulls it into a glossy, thick paste, then spread it on a plate and let it cool completely. Warm filling tears the dough while you pinch, so this step isn't optional. The dough itself wants a real 8 to 10 minute knead until it stops sticking to your hands and turns smooth and a little springy. Steam them seam-side down and you get that pale, cloud-soft bun with the sticky-sweet pork hidden inside.

By Nora Calloway

A little backstory

These steamed buns come out of Cantonese dim sum kitchens, where char siu (the lacquered red barbecue pork) gets a second life chopped fine and folded into yeasted dough. The story usually told is that bao were a thrifty way to stretch leftover roast pork into something that could feed a teahouse full of people. The baked, golden version you see at bakeries is a cousin of this steamed one, not the original.

Char siu bao are the reason dim sum exists. Fluffy, cloud-like dough wrapped around sweet, savory, sticky BBQ pork.

Yes, they take a little time. No, it’s not hard. The filling comes together fast, the dough is forgiving, and the first bite—warm, soft, porky—makes every minute worth it.
Makes 12 buns.

Step-by-Step Instructions

1

Make the Filling

In a small pan, mix diced char siu, oyster sauce, soy sauce, hoisin, and sugar.

Cook over medium heat for 2 minutes. Add cornstarch slurry. Stir until thick and sticky. Cool completely.

2

Make the Dough

In a bowl, mix flour, sugar, yeast, baking powder, and salt. Add warm water and oil.

Knead for 8-10 minutes until smooth and elastic. Let rise 1 hour until doubled.

3

Shape the Buns

Punch down dough. Divide into 12 balls. Flatten each into a 4-inch circle.

Place 1 tablespoon of filling in the center. Gather edges and pinch to seal.

4

Second Rise

Place buns seam-side down on parchment squares. Let rise 30 minutes.

5

Steam

Steam buns in a steamer basket over simmering water for 12 minutes.

Turn off heat. Let rest 5 minutes before opening lid (prevents collapse).

6

Serve

Serve warm. Buns can be steamed again later.

Summary

Prep Time: 30 minutes + 1½ hours rising | Cook Time: 12 minutes

Total Time: ~2 hours (mostly hands-off)

Yield: 12 buns

Difficulty: Medium (patience required)

Storage Notes

  • Fridge: Steamed buns keep 4 days. Re-steam for 5-6 minutes until warm.
  • Freezer: Freeze uncooked or cooked buns up to 3 months. Steam from frozen (add 5 minutes).
  • Make ahead tip: Make filling 3 days ahead. Make dough, assemble, and steam fresh.
Swaps & Substitutions

Questions & Answers

Why did my buns turn out wrinkled or collapsed?

Usually the lid came off too fast. Steam the full 12 minutes, kill the heat, and let them sit 5 minutes before lifting the lid so the sudden temperature drop doesn't deflate them.

Can I make these ahead?

Yes. Steam them fully, cool, then freeze in a bag. Re-steam straight from frozen for about 6 to 8 minutes and they come back almost like new.

My filling soaked into the dough and made it gummy. What happened?

The filling was still warm when you wrapped, or the slurry didn't thicken enough. Cook it until it coats the spoon and looks glossy, then cool it completely before filling.

How do I keep the buns from bursting open while steaming?

Pinch and twist the gathered edge firmly to seal, set them seam-side down, and give them the full 30 minute second rise so the dough relaxes. A tight seal plus seam-down keeps them shut.

Do I have to use parchment squares under each bun?

It's the easiest way to keep them from sticking to the steamer. Cut small squares, or use perforated steamer liners; a light brush of oil on the surface works in a pinch but is less reliable.

More from the Recipe Box

Craving more delicious recipes?

Subscribe to our newsletter and get our favorite weekend recipes delivered to your inbox every Friday morning.