Quick Meals

Crispy Chicken Katsu (Better Than Your Takeout Spot)

Tested & Loved ★ 100% Delicious ★
Crispy Chicken Katsu (Better Than Your Takeout Spot)

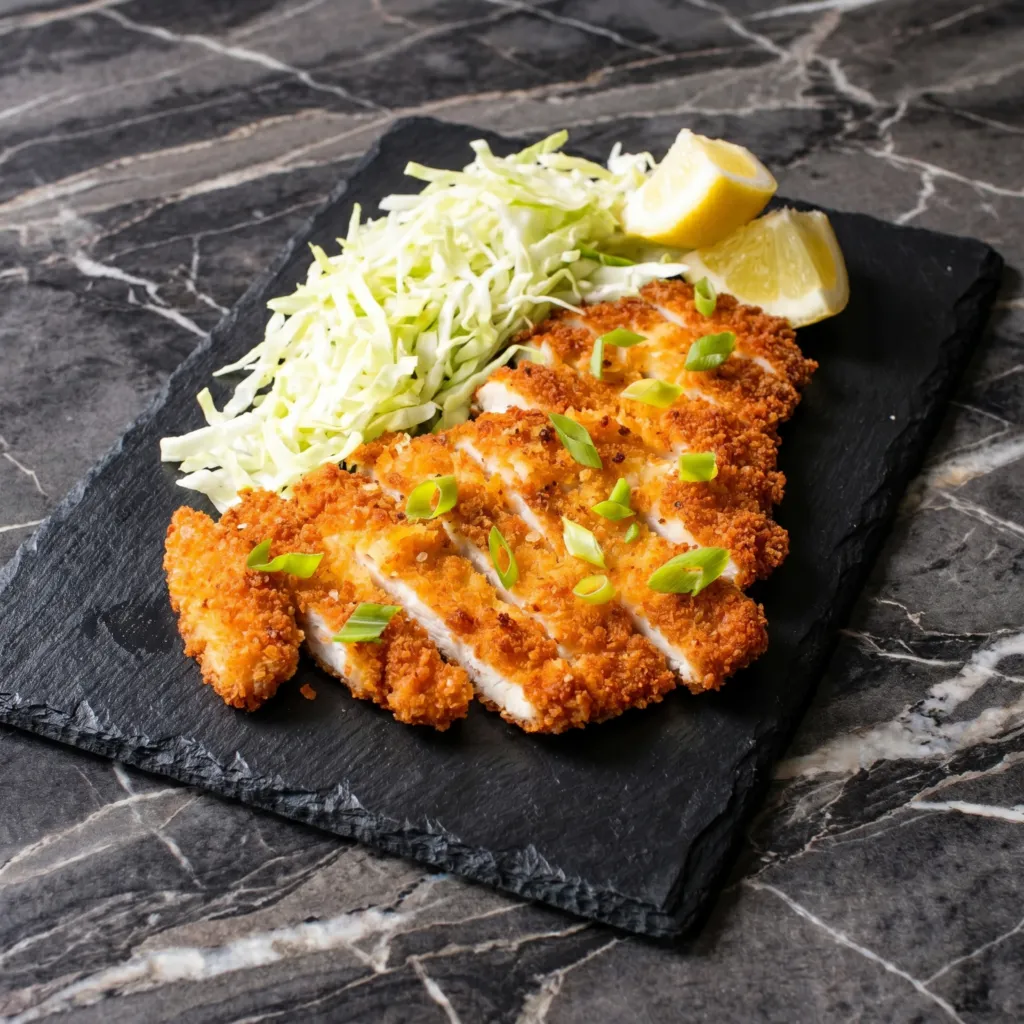
Pound the chicken breasts to a flat half-inch before you do anything else. That even thickness is what lets the outside hit deep golden in three or four minutes a side while the inside finishes at the same moment, instead of you burning the crust to cook the center. Use real Japanese panko, press it into the egg-coated chicken so it sticks, and keep the oil sitting steady around 350 degrees. Drain the cutlets on a wire rack, never paper towels, or the bottom crust steams itself soggy.

By Nora Calloway

A little backstory

Katsu is short for katsuretsu, a Japanese take on the word "cutlet," and the dish came out of the yoshoku tradition of Western-inspired cooking that took off in late-1800s Tokyo. The story usually credits a restaurant called Rengatei in the Ginza district with popularizing the breaded, deep-fried pork version that everything else, chicken katsu included, grew from. The panko coating and the cabbage-and-rice plating are the parts that stuck.

There’s fried chicken. Then there’s chicken katsu.

Pounded thin. Dredged in flour, egg, and flaky panko. Fried until it sounds like stepping on autumn leaves. Served with that sweet, tangy, addictive tonkatsu sauce. It’s simple. It’s perfect. And once you make it at home, you’ll never order delivery again.

Step-by-Step Instructions

1

Pound the Chicken

Place chicken between two sheets of plastic wrap. Pound to ½-inch thickness.

Season both sides with salt and pepper.

2

Set Up Breading Station

Three shallow bowls: flour, beaten eggs, panko.

Dredge chicken in flour → dip in egg → coat in panko, pressing firmly.

3

Fry

Heat ½ inch of oil in a large skillet to 350°F (175°C).

Fry chicken for 3-4 minutes per side until golden brown and cooked through.

Drain on a wire rack (not paper towels—keeps it crispy).

4

Make the Sauce

Whisk ketchup, Worcestershire, soy sauce, and honey in a small bowl.

5

Serve

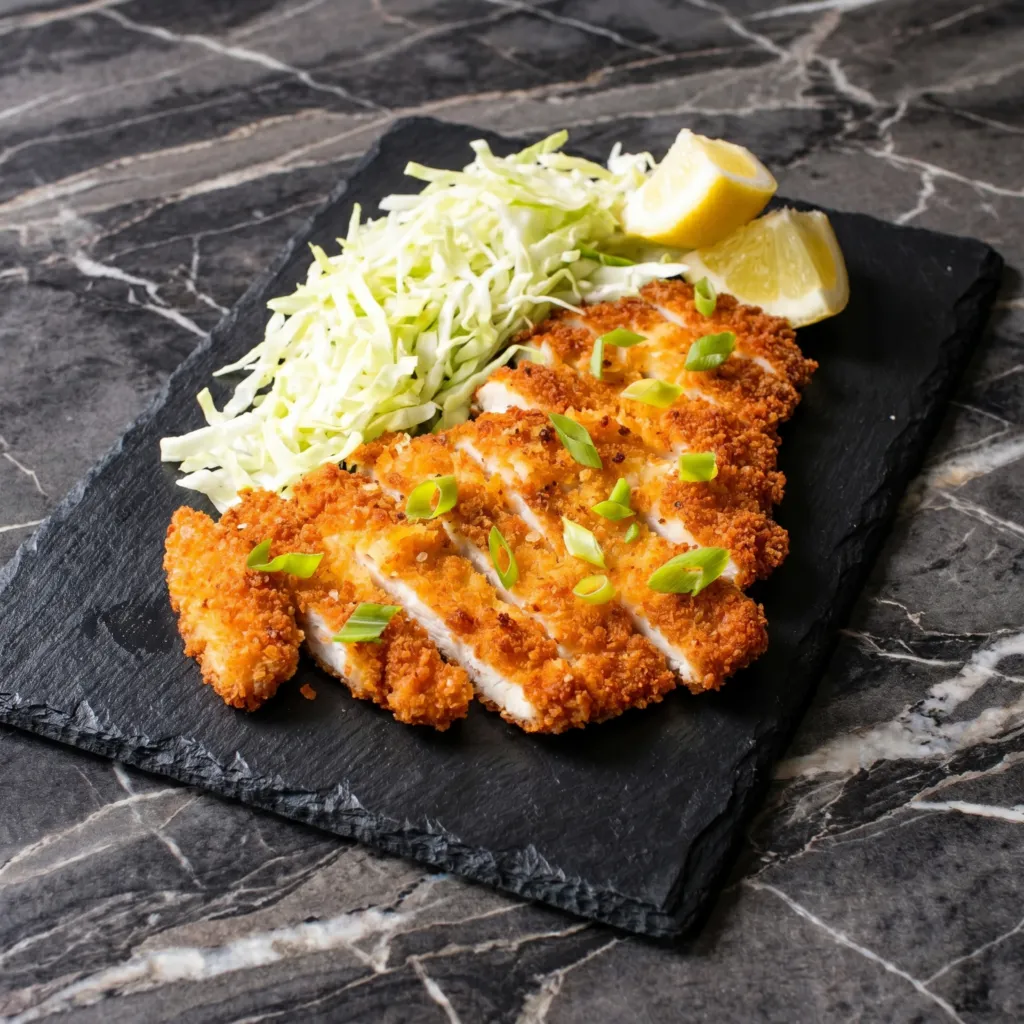
Slice katsu into strips. Serve over rice with shredded cabbage.

Drizzle with tonkatsu sauce and a squeeze of lemon.

Summary

Prep Time: 15 minutes | Cook Time: 10 minutes | Total Time: 25 minutes

Yield: 4 servings

Difficulty: Easy

Storage Notes

  • Fridge: Cooked katsu keeps for 3 days. It will lose crispiness.
  • Reheat: Air fryer at 375°F for 5 minutes or oven at 400°F for 8 minutes. Never microwave.
  • Make ahead: Bread the chicken up to 4 hours in advance. Refrigerate until frying.
  • Katsu curry: Serve with Japanese curry roux for the ultimate comfort meal.
Swaps & Substitutions

Questions & Answers

How do I know the chicken is cooked through without cutting into it?

At half-inch thickness, three to four minutes per side at 350 degrees lands it right. If you want certainty, an instant-read thermometer should hit 165 degrees in the thickest part.

My crust came out greasy. What went wrong?

The oil was probably too cool, so the panko soaked up fat instead of frying fast. Keep it around 350 degrees, fry in batches so the temperature doesn't crash, and rest the cutlets on a wire rack.

Can I bake or air-fry these instead of pan-frying?

You can. Toast the panko in a dry skillet until golden first, then bread and bake at 400 degrees or air-fry around 380 until cooked, since untoasted panko stays pale without the oil to brown it.

Can I prep katsu ahead for a crowd?

Bread the cutlets a few hours ahead and keep them on a rack in the fridge uncovered so the coating dries and grips better. Fry just before serving; reheated katsu loses most of its crunch.

What's the cabbage actually for?

The raw shredded cabbage cuts the richness of the fried cutlet and the sweet sauce, so it's worth slicing thin. A squeeze of the lemon over both does the same job.

More from the Recipe Box

Craving more delicious recipes?

Subscribe to our newsletter and get our favorite weekend recipes delivered to your inbox every Friday morning.