Baking

Homemade Chocolate Pop Tarts: Store-Bought Could Never

Tested & Loved ★ 100% Delicious ★
Homemade Chocolate Pop Tarts: Store-Bought Could Never

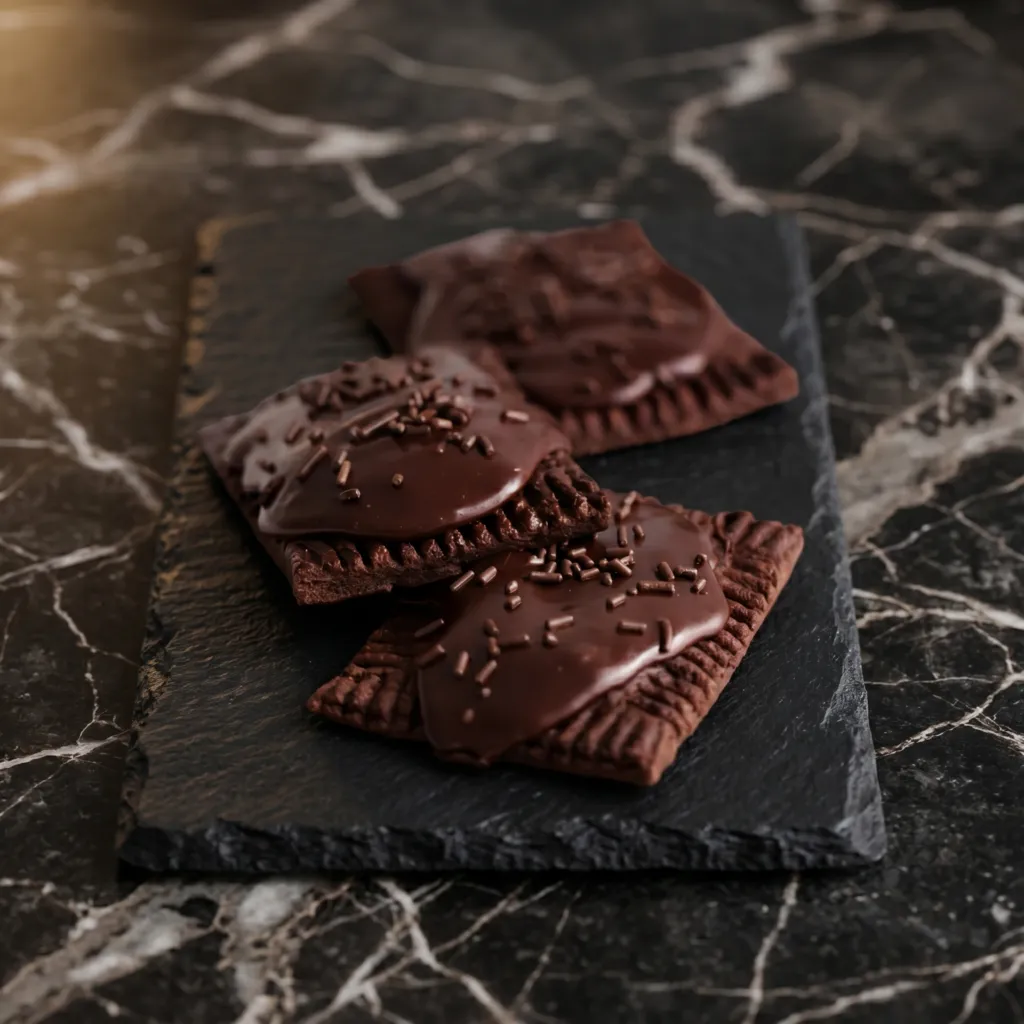
Cut the cold cubed butter into the flour until you see pea-sized bits, not a smooth paste. Those little butter pockets are what give the pastry its flake once the oven hits them with steam. The filling here is a real ganache, chocolate chips melted with cream and a knob of butter in short microwave bursts, so it stays soft instead of seizing into a hard candy center. Keep the dough cold and your edges sealed tight with a fork, and you get a thick, chocolate-stuffed tart that the foil-wrapped version can't touch.

By Nora Calloway

A little backstory

The Pop-Tart showed up in American grocery aisles in 1964, when Kellogg's rushed a shelf-stable toaster pastry to market after a rival announced something similar. The chocolate version came a little later than the original fruit flavors, since early formulas struggled to keep chocolate from scorching in the toaster. This homemade take drops the toaster problem entirely by baking the filled tarts and icing them after they cool.

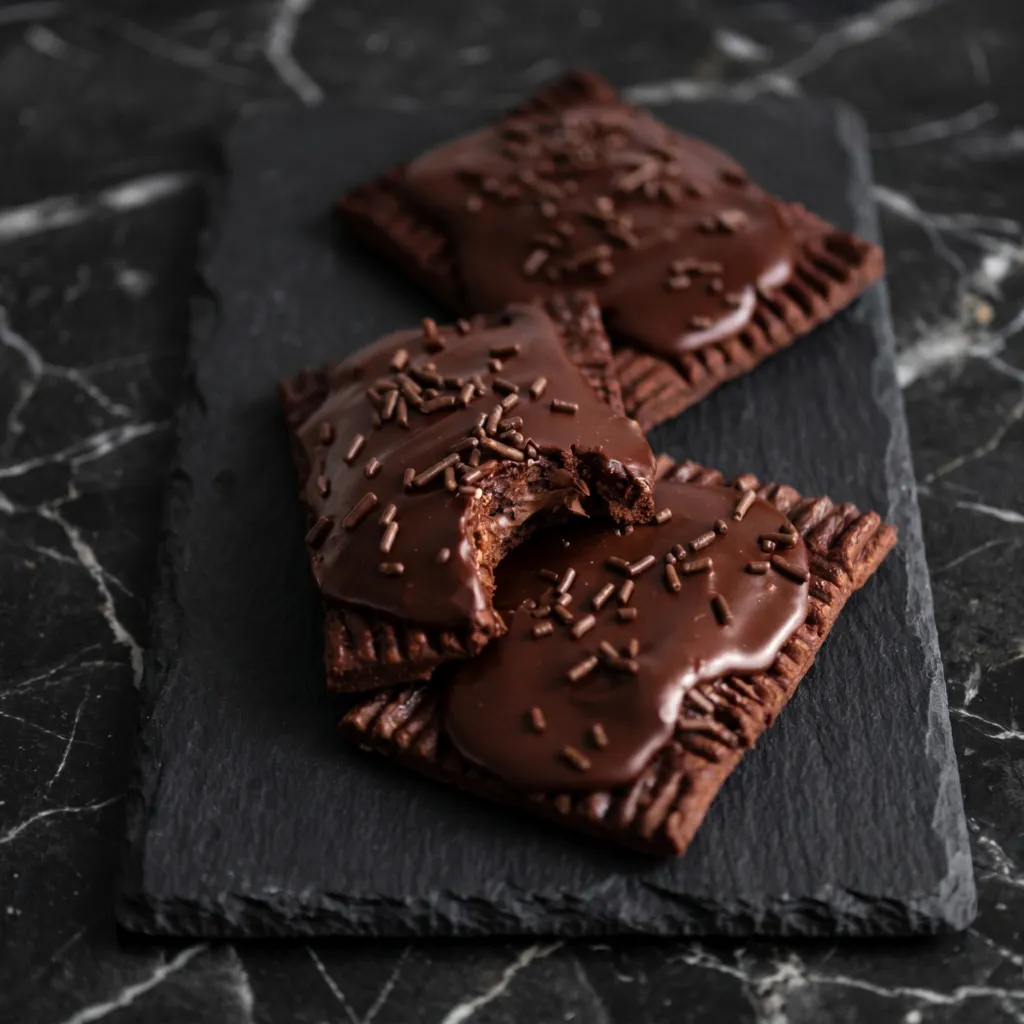
Remember pop tarts? The dry, crumbly, vaguely chocolate rectangles from a foil pouch? Yeah, these are nothing like that. Homemade chocolate pop tarts have a buttery, tender crust, a fudgy dark chocolate center, and a thick layer of chocolate icing on top. One bite and you’ll never go back to the boxed version. Plus, you get bragging rights. Let’s make pastry.
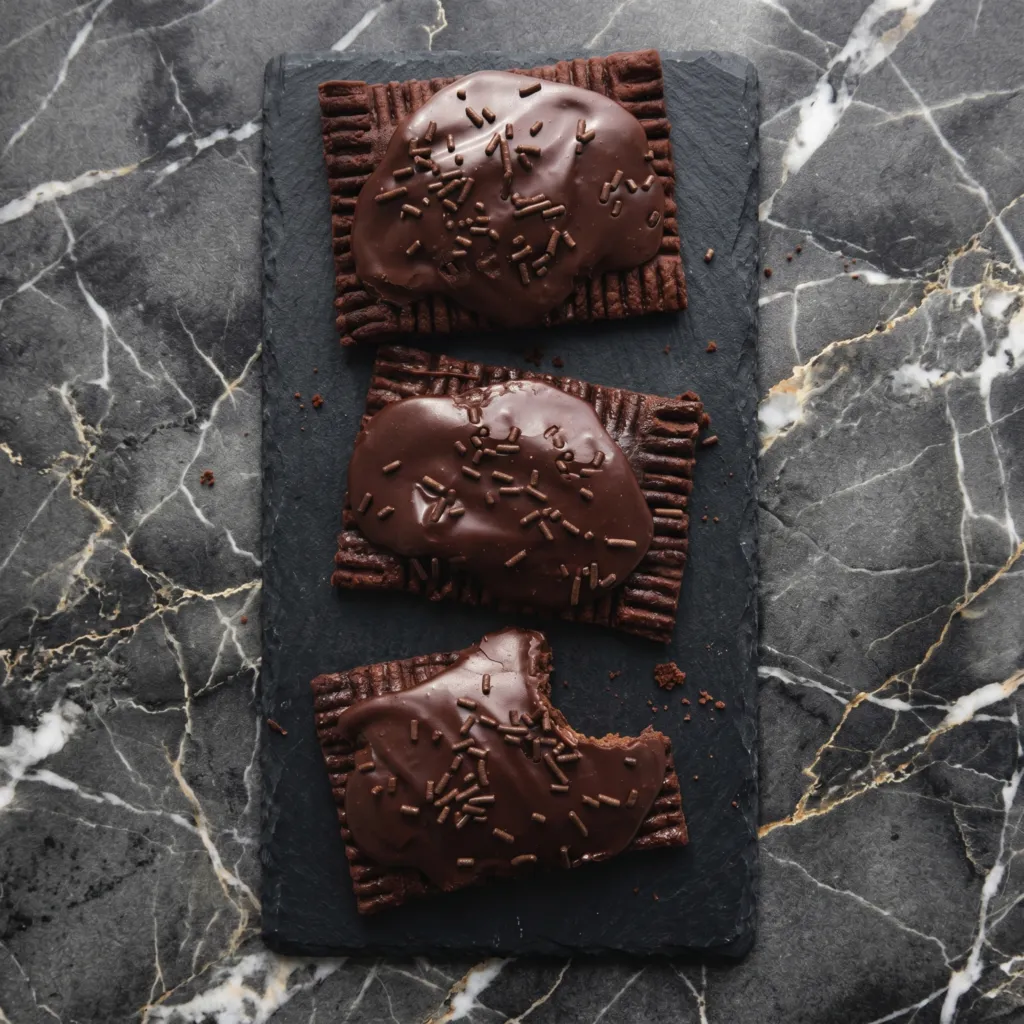
Makes 8 pop tarts.

Step-by-Step Instructions

1

Make the Crust

In a bowl, mix flour, sugar, and salt. Cut in cold butter until pea-sized crumbs form.

Add ice water 1 tablespoon at a time until dough just comes together.

Divide into two discs. Wrap and chill for 1 hour.

2

Make the Filling

Microwave chocolate chips, cream, and butter in 15-second bursts until smooth. Let cool slightly.

3

Assemble the Pop Tarts

Preheat oven to 375°F (190°C). Line a baking sheet with parchment.

Roll out each dough disc into a 9×12 rectangle. Cut into eight 3×4 rectangles.

Place 4 rectangles on the baking sheet. Spoon 1 tablespoon filling onto each, leaving a border.

Top with remaining rectangles. Press edges with a fork to seal. Poke vent holes.

4

Bake

Bake for 20-25 minutes until golden brown. Cool completely on a wire rack.

5

Ice and Sprinkle

Whisk powdered sugar, cocoa powder, and milk until smooth.

Spread icing over cooled pop tarts. Add sprinkles immediately.

Let icing set for 15 minutes. Toast or eat at room temp.

Summary

Prep Time: 30 minutes + 1 hour chill | Cook Time: 25 minutes | Total Time: ~2 hours

Yield: 8 pop tarts

Difficulty: Medium (dough handling)

Storage Notes

How to Store:

Keep in an airtight container at room temperature for up to 5 days. They actually stay pretty fresh.

Freezing (Best Hack):

Freeze unbaked assembled pop tarts on a tray, then transfer to a bag. Bake from frozen—add 5 minutes to bake time. Bake only what you want. This is the move.

Toasting:

Pop a baked pop tart in the toaster or toaster oven for 1-2 minutes to warm the filling. Yes, like the old days. But better.

Pro Tip

  • Don’t overfill. Too much chocolate = blowouts in the oven. One tablespoon is plenty.
  • Chill the assembled tarts for 15 minutes before baking—it prevents shrinkage and keeps the shape perfect.
Swaps & Substitutions

Questions & Answers

Can I make these ahead?

Yes. The dough discs keep wrapped in the fridge for up to two days, or freeze them for a month. You can also bake the tarts and ice them the next morning; store the unglazed tarts airtight overnight and glaze before serving.

Why did my filling leak out during baking?

Usually the edges weren't sealed well or the dough warmed up too much. Press the fork all the way around firmly, keep the filling to about a tablespoon with a clear border, and chill the assembled tarts for 10 minutes before they go in if your kitchen is warm.

How do I know when they're done?

Look for the tops and edges turning an even golden brown, around the 20 to 25 minute mark at 375F. The vent holes should look dry rather than wet. Let them cool completely on a rack before icing, or the glaze slides right off.

My dough is crumbly and won't come together. What now?

Add ice water a teaspoon at a time until it just holds when you squeeze a handful. It should look shaggy, not wet. Resist dumping in a lot at once, since too much water makes the baked crust tough.

How should I store the finished tarts?

Keep them in an airtight container at room temperature for about three days. The icing sets firm enough that you can stack them with parchment between layers. They don't need refrigeration, which would dry the crust out.

More from the Recipe Box

Craving more delicious recipes?

Subscribe to our newsletter and get our favorite weekend recipes delivered to your inbox every Friday morning.